Calculator
Link to GitHub Repository
Introduction
Over my winter break, I purchased The Most Complete Starter Kit for Mega 2560 from Amazon. This is an Arduino
kit made by the company Elegoo. The kit comes with a variety of resistors, bread boards, accessories (such as LEDs, ultrasonic
sensors, etc.), and the Elegoo microcontroller board Mega 2560 Rev3 (comparable to Arduino's board). After going through all the
modules in the starter kit, I decided to embark on my own project with the hardware: a calculator.
I thought this would be a good starter project since many computer science students create calculator apps. In this project, I would not only extend my programming skills with the Arduino IDE, but also learn more about wiring Arduino/Elegoo hardware. A picture of the finished project is below. In the following article, I will explain how I wired the calculator, made the algorithm, the roadblocks I faced, and summarize my calculator's abilities and constraints. The code for my calculator can be found in my GitHub repository, linked above.
Note: Since the LCD module (blue screen) is hard to capture on my phone's camera, I am providing what is printed on the screen below each picture.
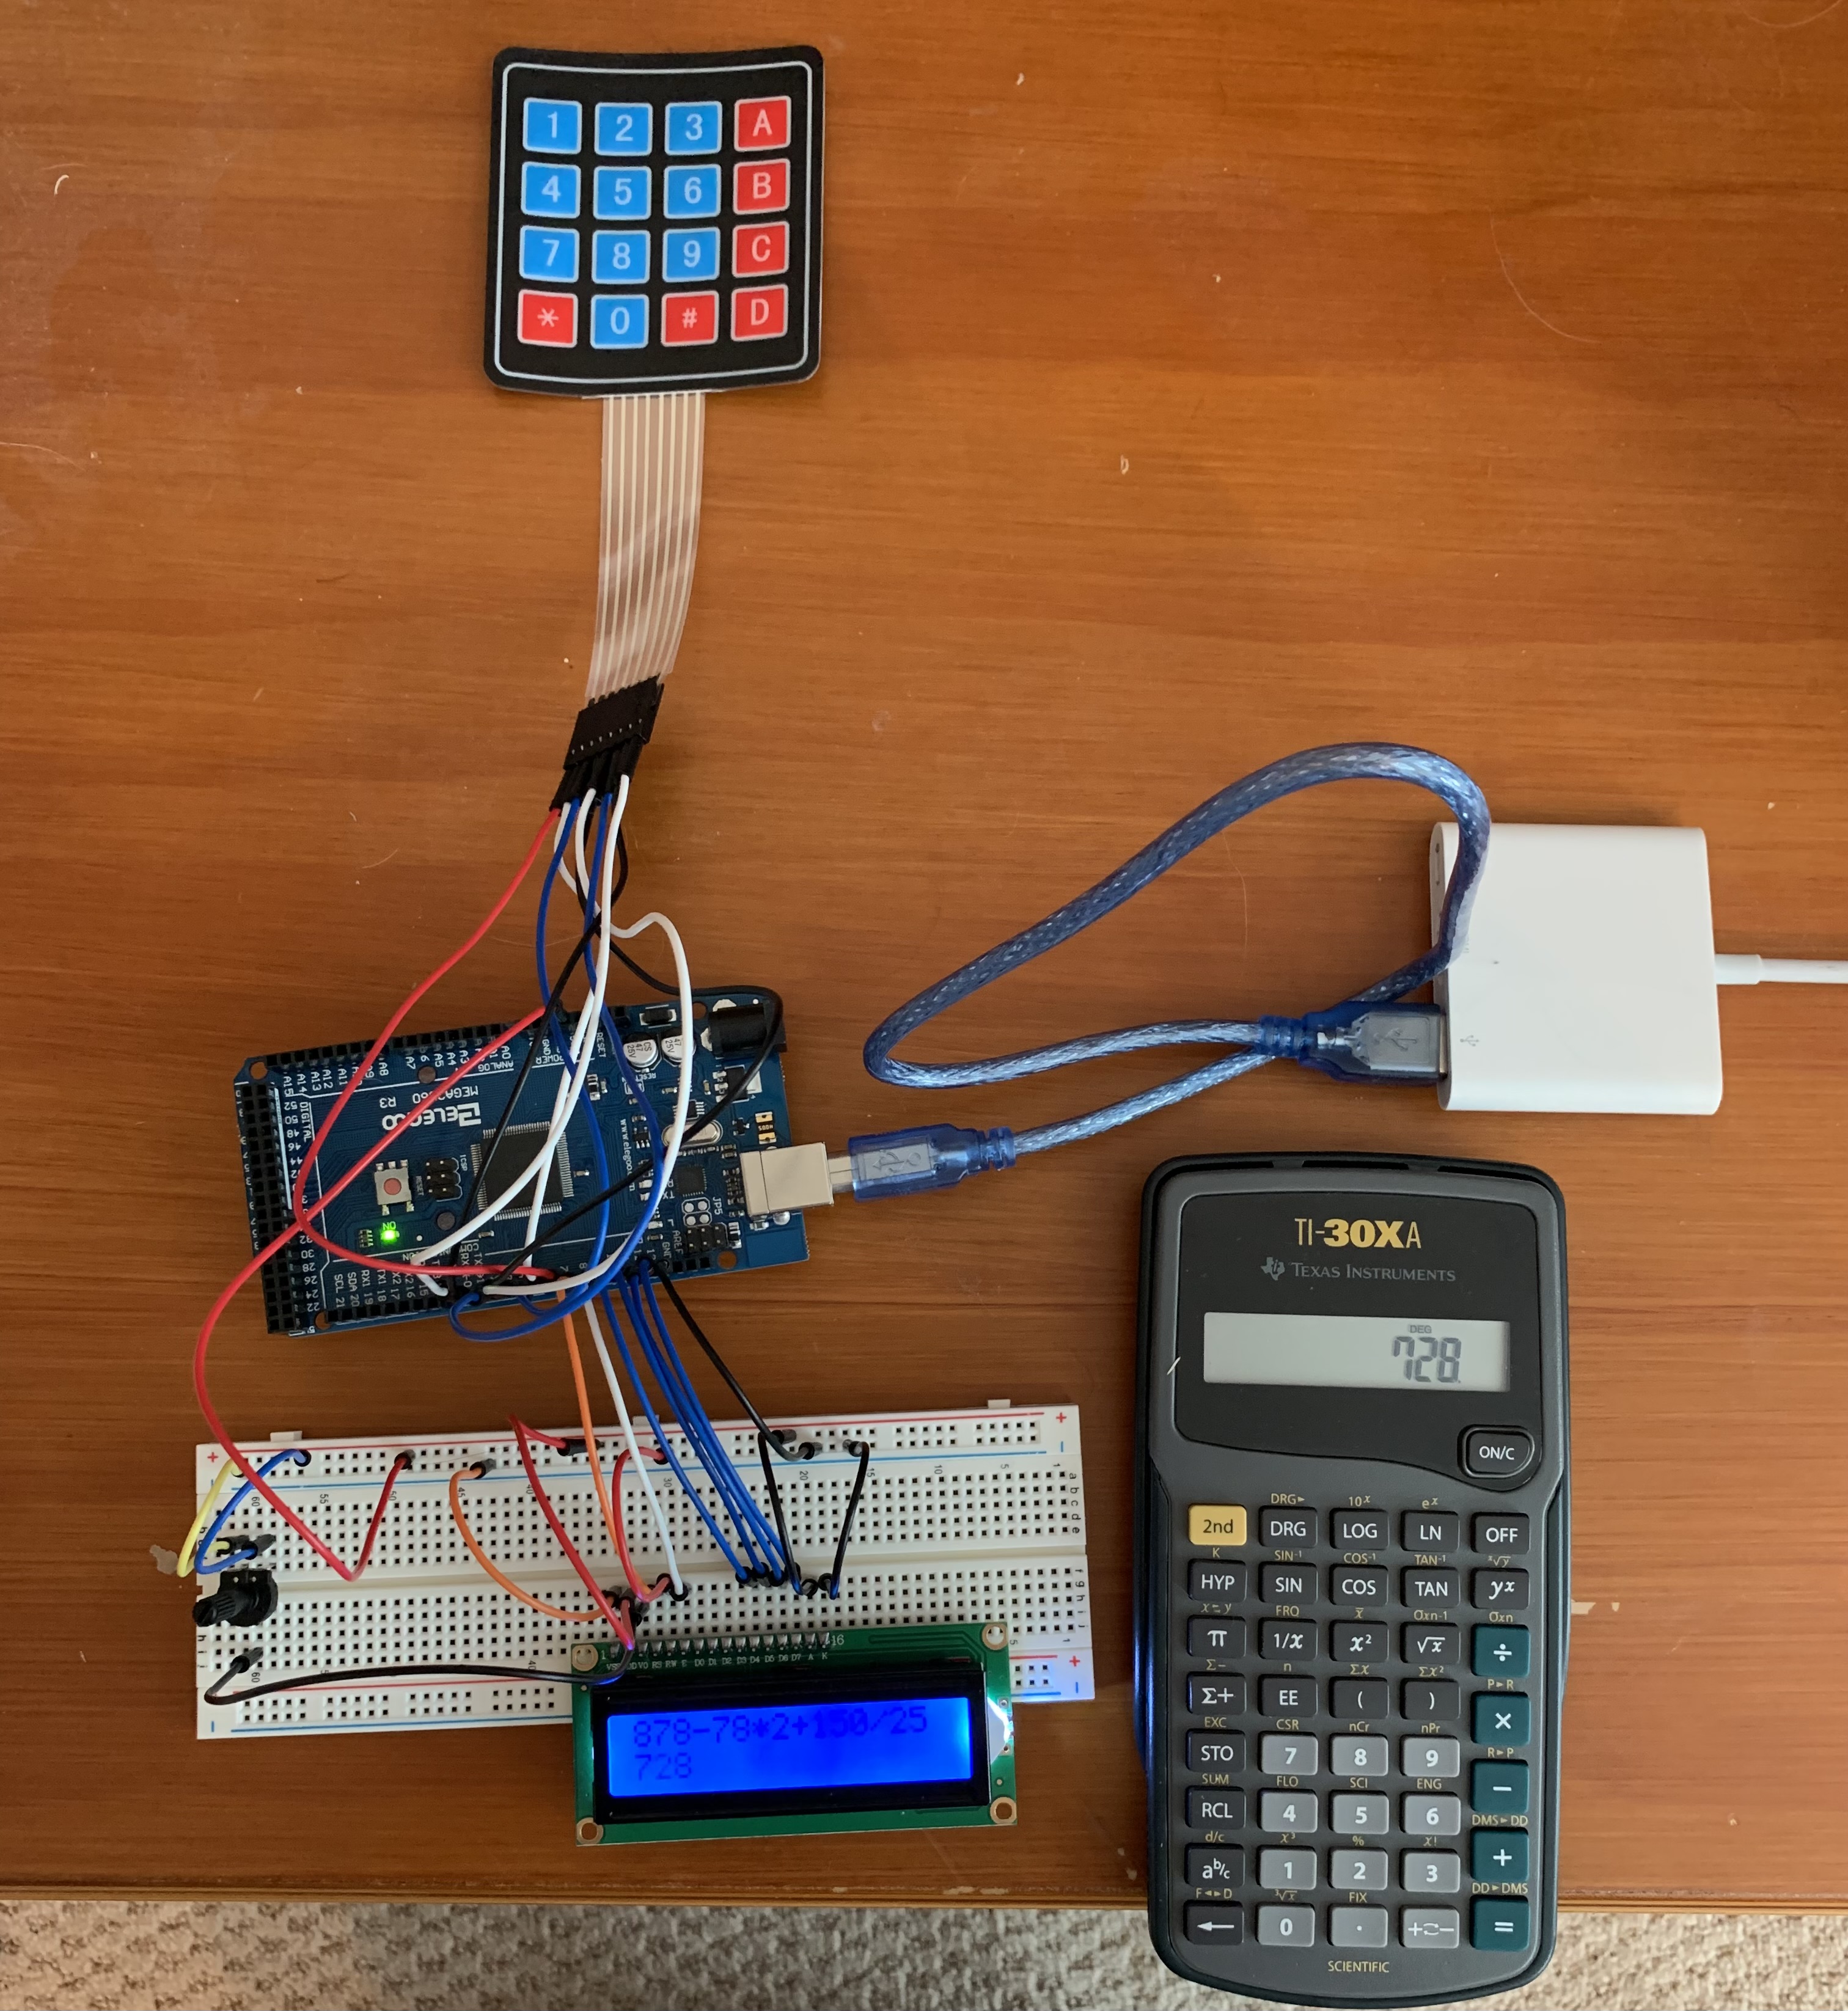
878-78*2+150/25
728
Process
After sifting through the accessories that came with the Starter Kit, I realized that the membrane switch module and LCD 1602 module
would be ideal for the calculator's keypad and display. In order to use both of these modules, I also had to use the breadboard,
multiple jumper wires, and the potentiometer module (to adjust the contrast of the LCD). The source of power for the calculator is
my computer.
I followed the instructions from the Starter Kit for both the membrane switch and LCD 1602 modules. I had just enough Digital PWM I/O pins to support both of these accessories. I took an iterative approach with wiring my calculator. I started with the LCD module and made sure this was working before anything else.
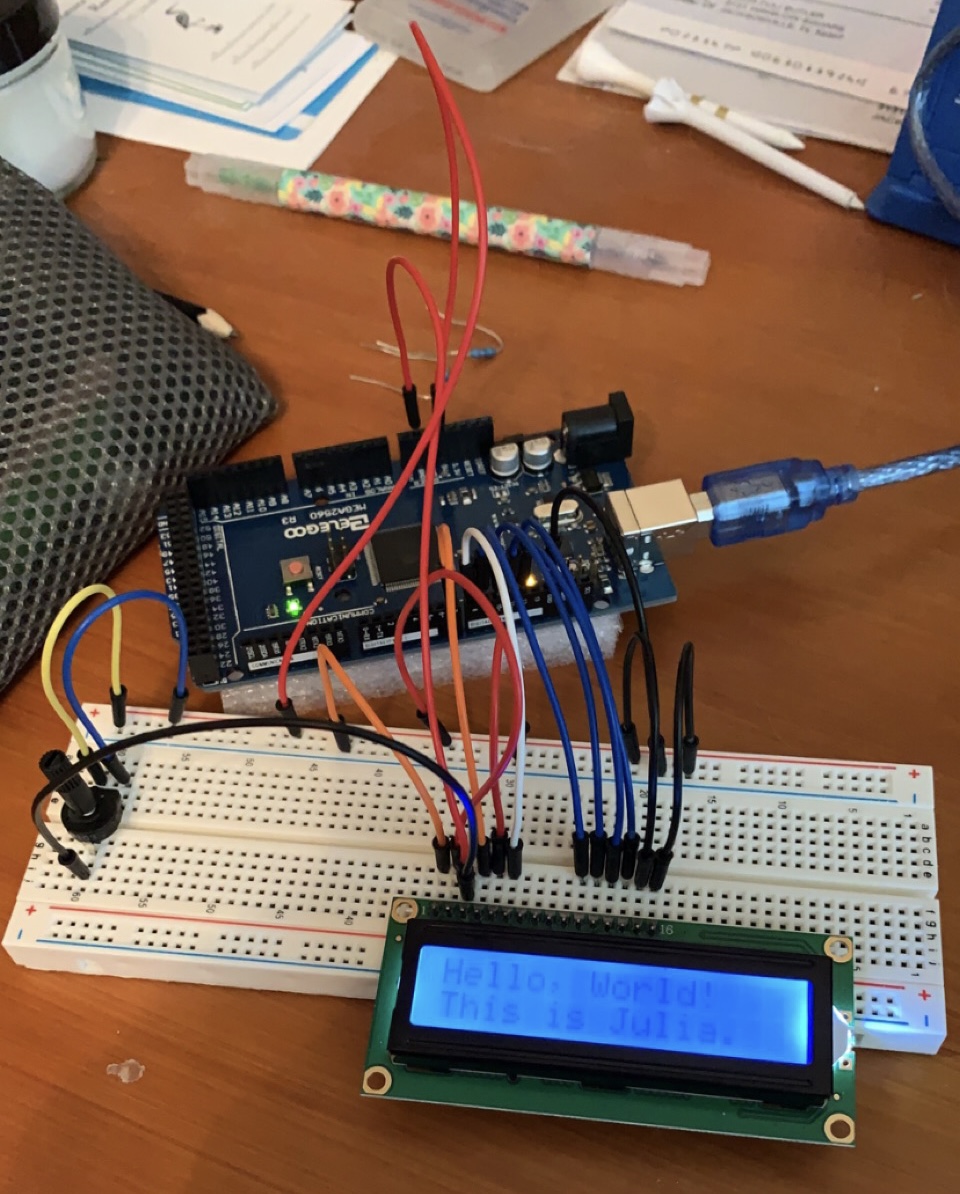
Hello, World!
This is Julia.
Next, I set up the membrane switch module. There are 16 buttons on this keypad. I let the numbers represent the numbers, but I made the letters (A, B, C, and D) represent four different mathematical operations. A is for addition, B is for subtraction, C is for multiplication, and D is for division. As for the star (*) and pound (#) buttons, I made those the clear and equal buttons respectively. Before moving onto programming the calculator, I tested the input from the membrane switch module and the output on the LCD display.
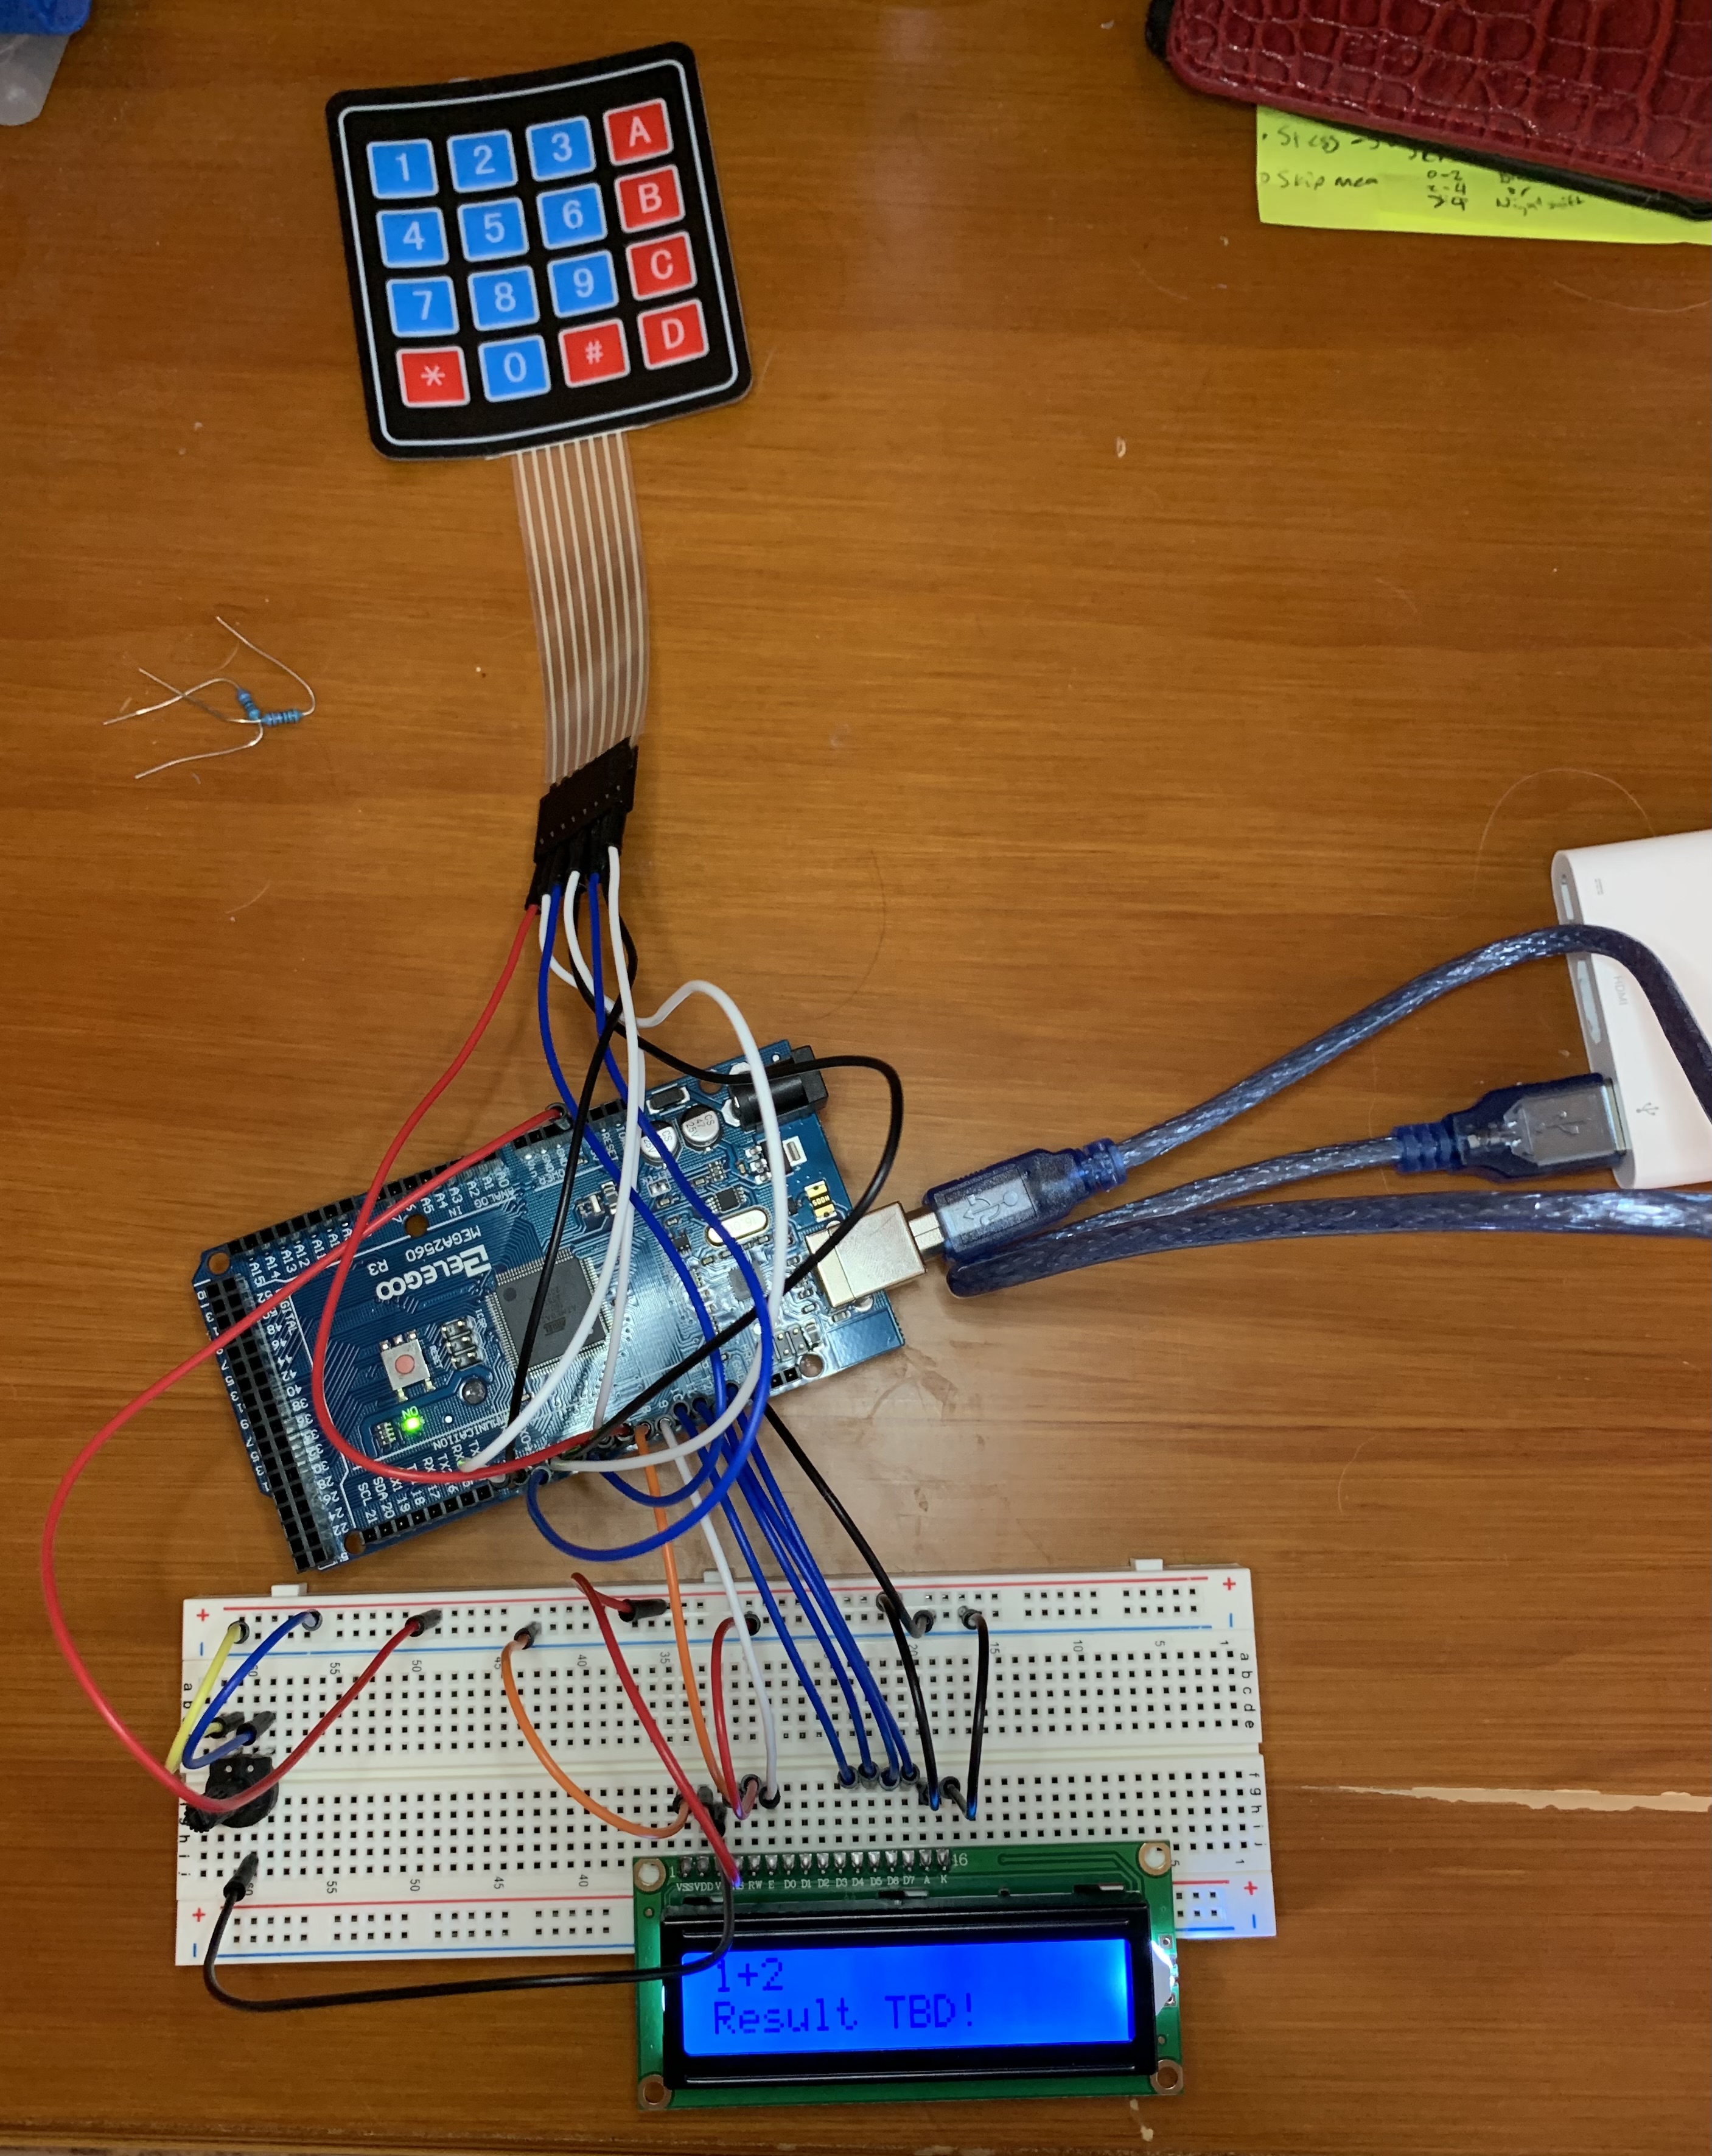
1 + 2
Result TBD!
Algorithm
After wiring the calculator, I had to design the calculator program. I broke up this part of the project into two parts: parsing the
input and calculating. Before going on to the specifics of the algorithm, a goal I established for myself is for my calculator to
be able to evaluate long expressions and follow PEMDAS (order of operations).
Parsing Input
For starters, I limited the length of the input to 16 characters (operands and operators). Any longer expression would be
truncated. Arduino programs have a built in loop function that will run continuously. I used this loop to keep the keypad ready
to accept input at any given time. As the user inputs numbers and arithmetic operators, the program adds those tokens into either
an expression array or an operations array and builds a string with the full expression. These three objects will be used while
calculating the answer.
The next step while parsing input is making sure that the input is a valid, infix mathematical expression. I came up with 5 cases in which the given expression could be invalid. First, the expression can't be blank. Next, the first and last characters/tokens should not be arithmetic operators. (As a result, another constraint on the input is that the user cannot give an expression with negative numbers. However, this could be easily bypassed if they exchange the negative number with some kind of subtraction expression). Fourth, the expression cannot have two arithmetic operators next to each other (ex. // or --). Lastly, the number of arithmetic operators in an expression cannot be equal to or greater than the number of operands. In order to validate expressions, I have all of this logic in its own isValid() function. If the expression is invalid, then it will print Syntax Error on the screen. Examples of all of these cases are below.
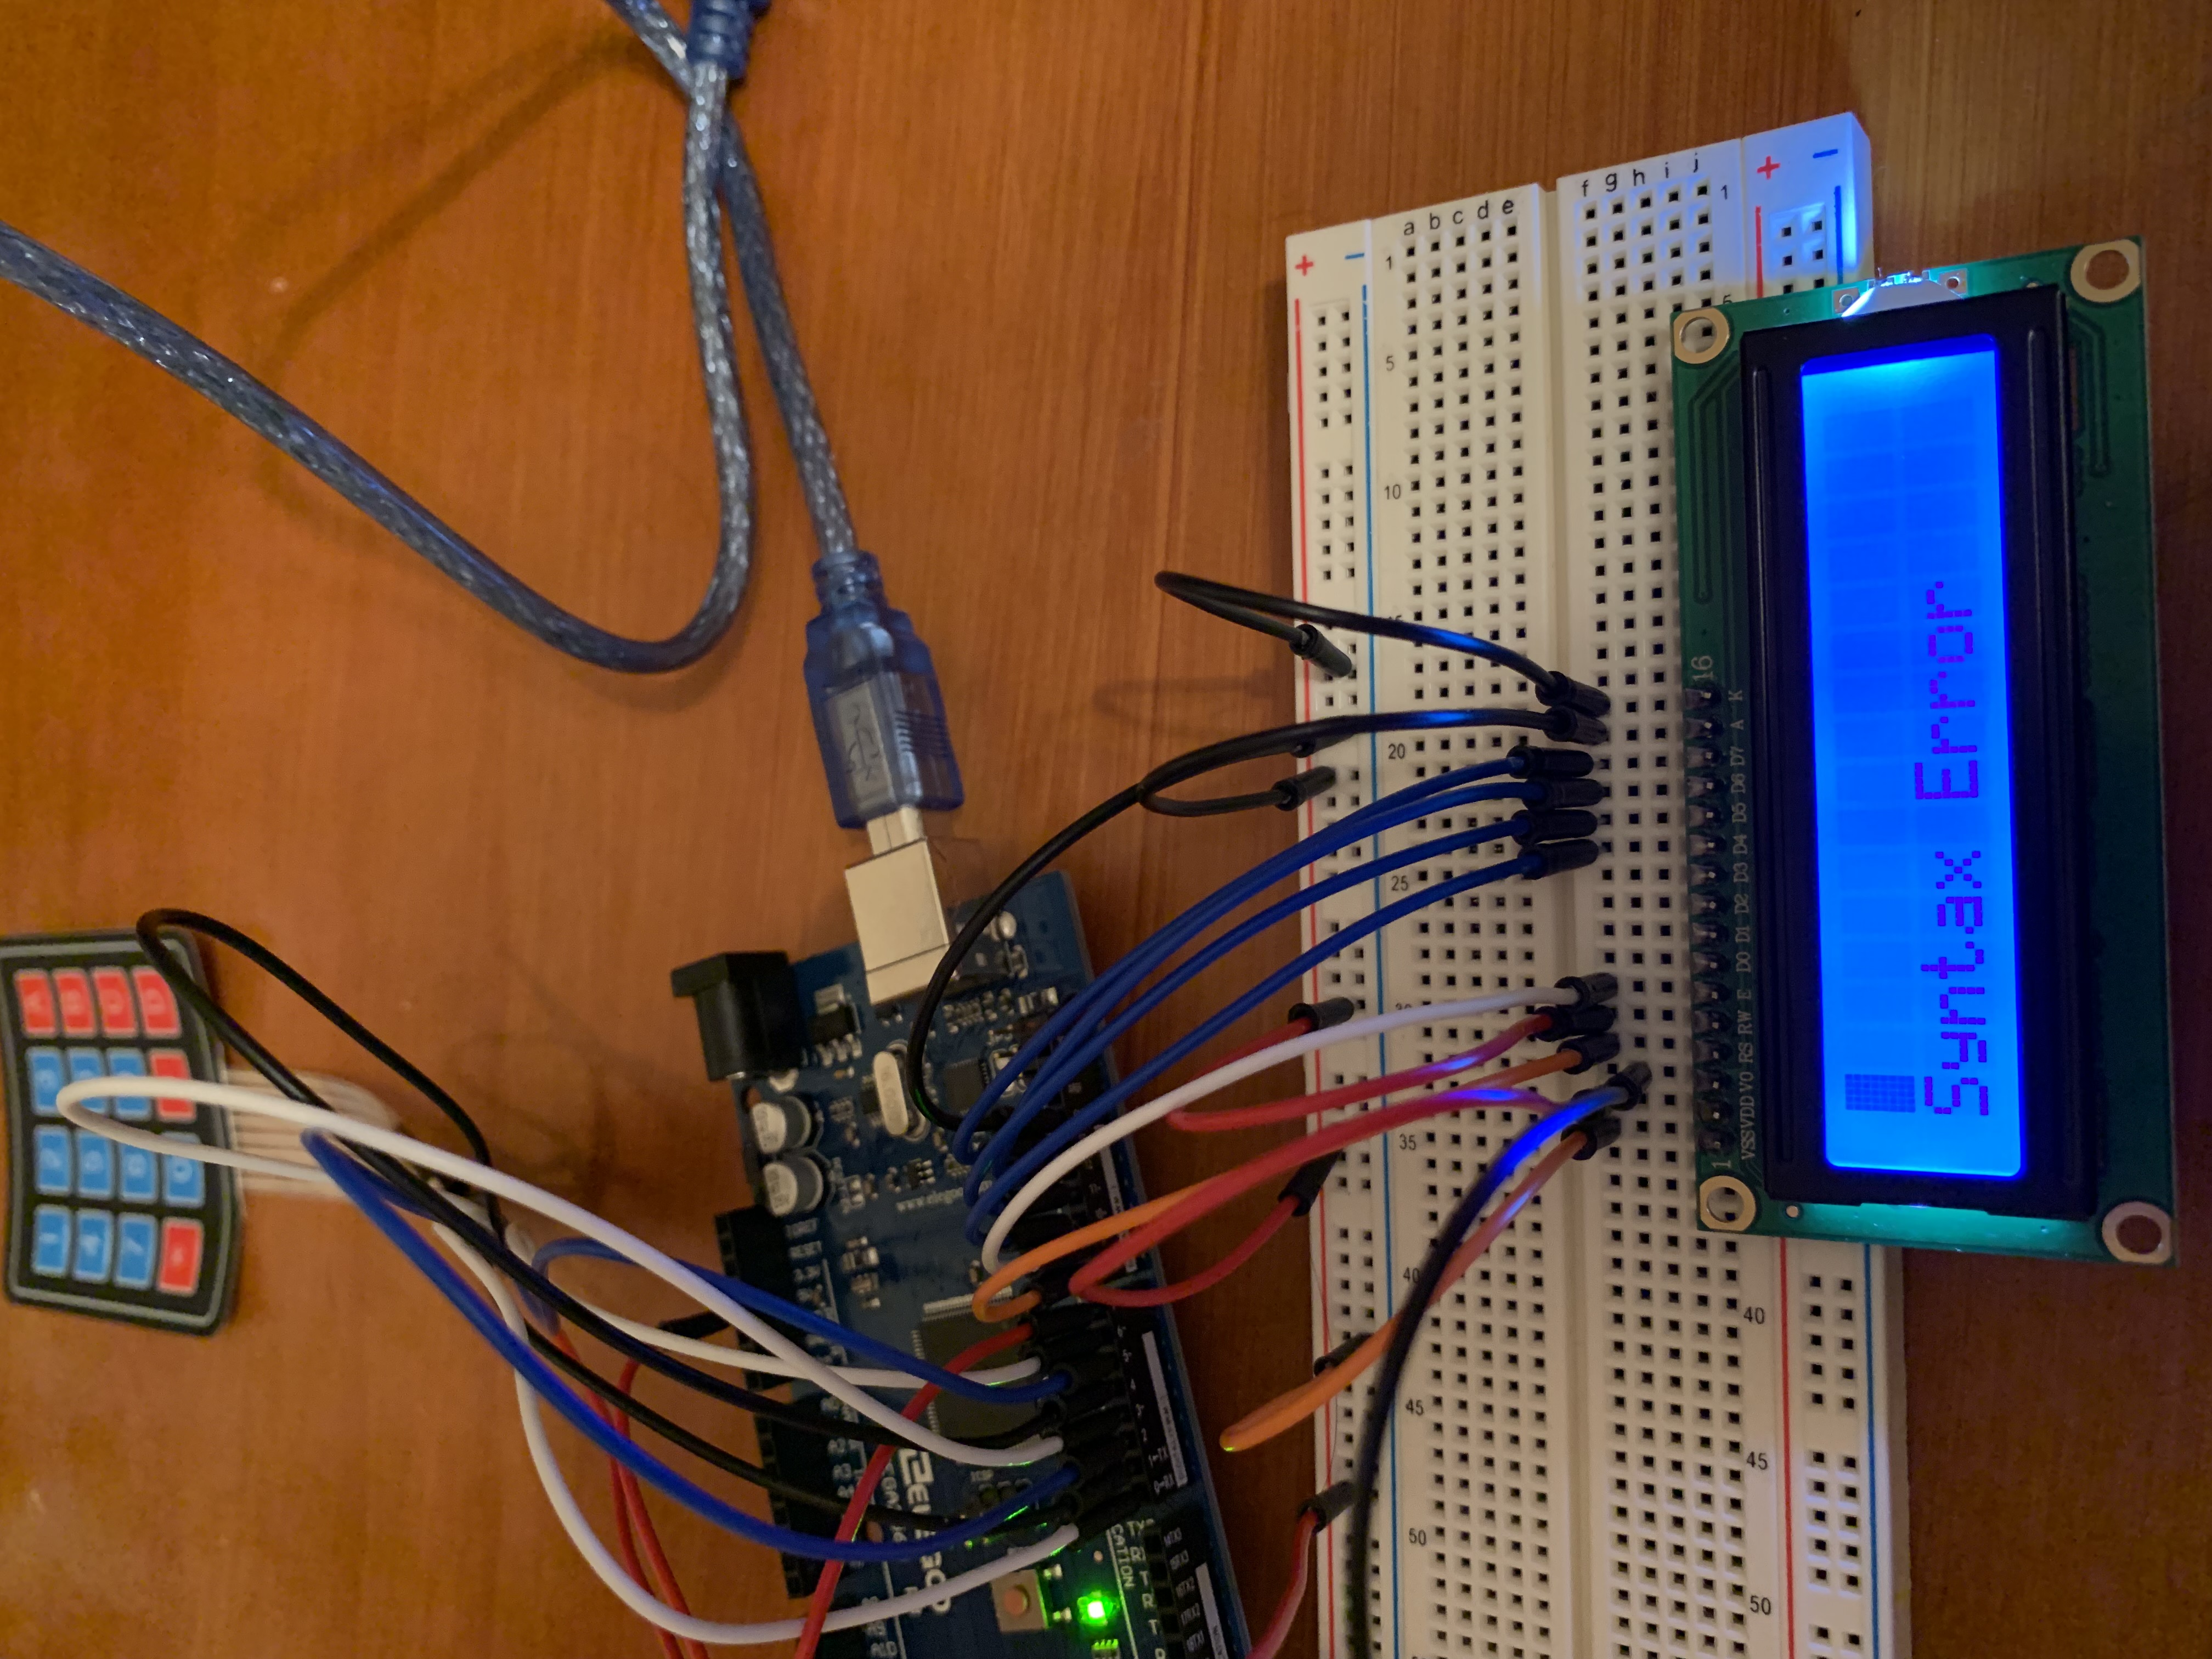
Syntax Error
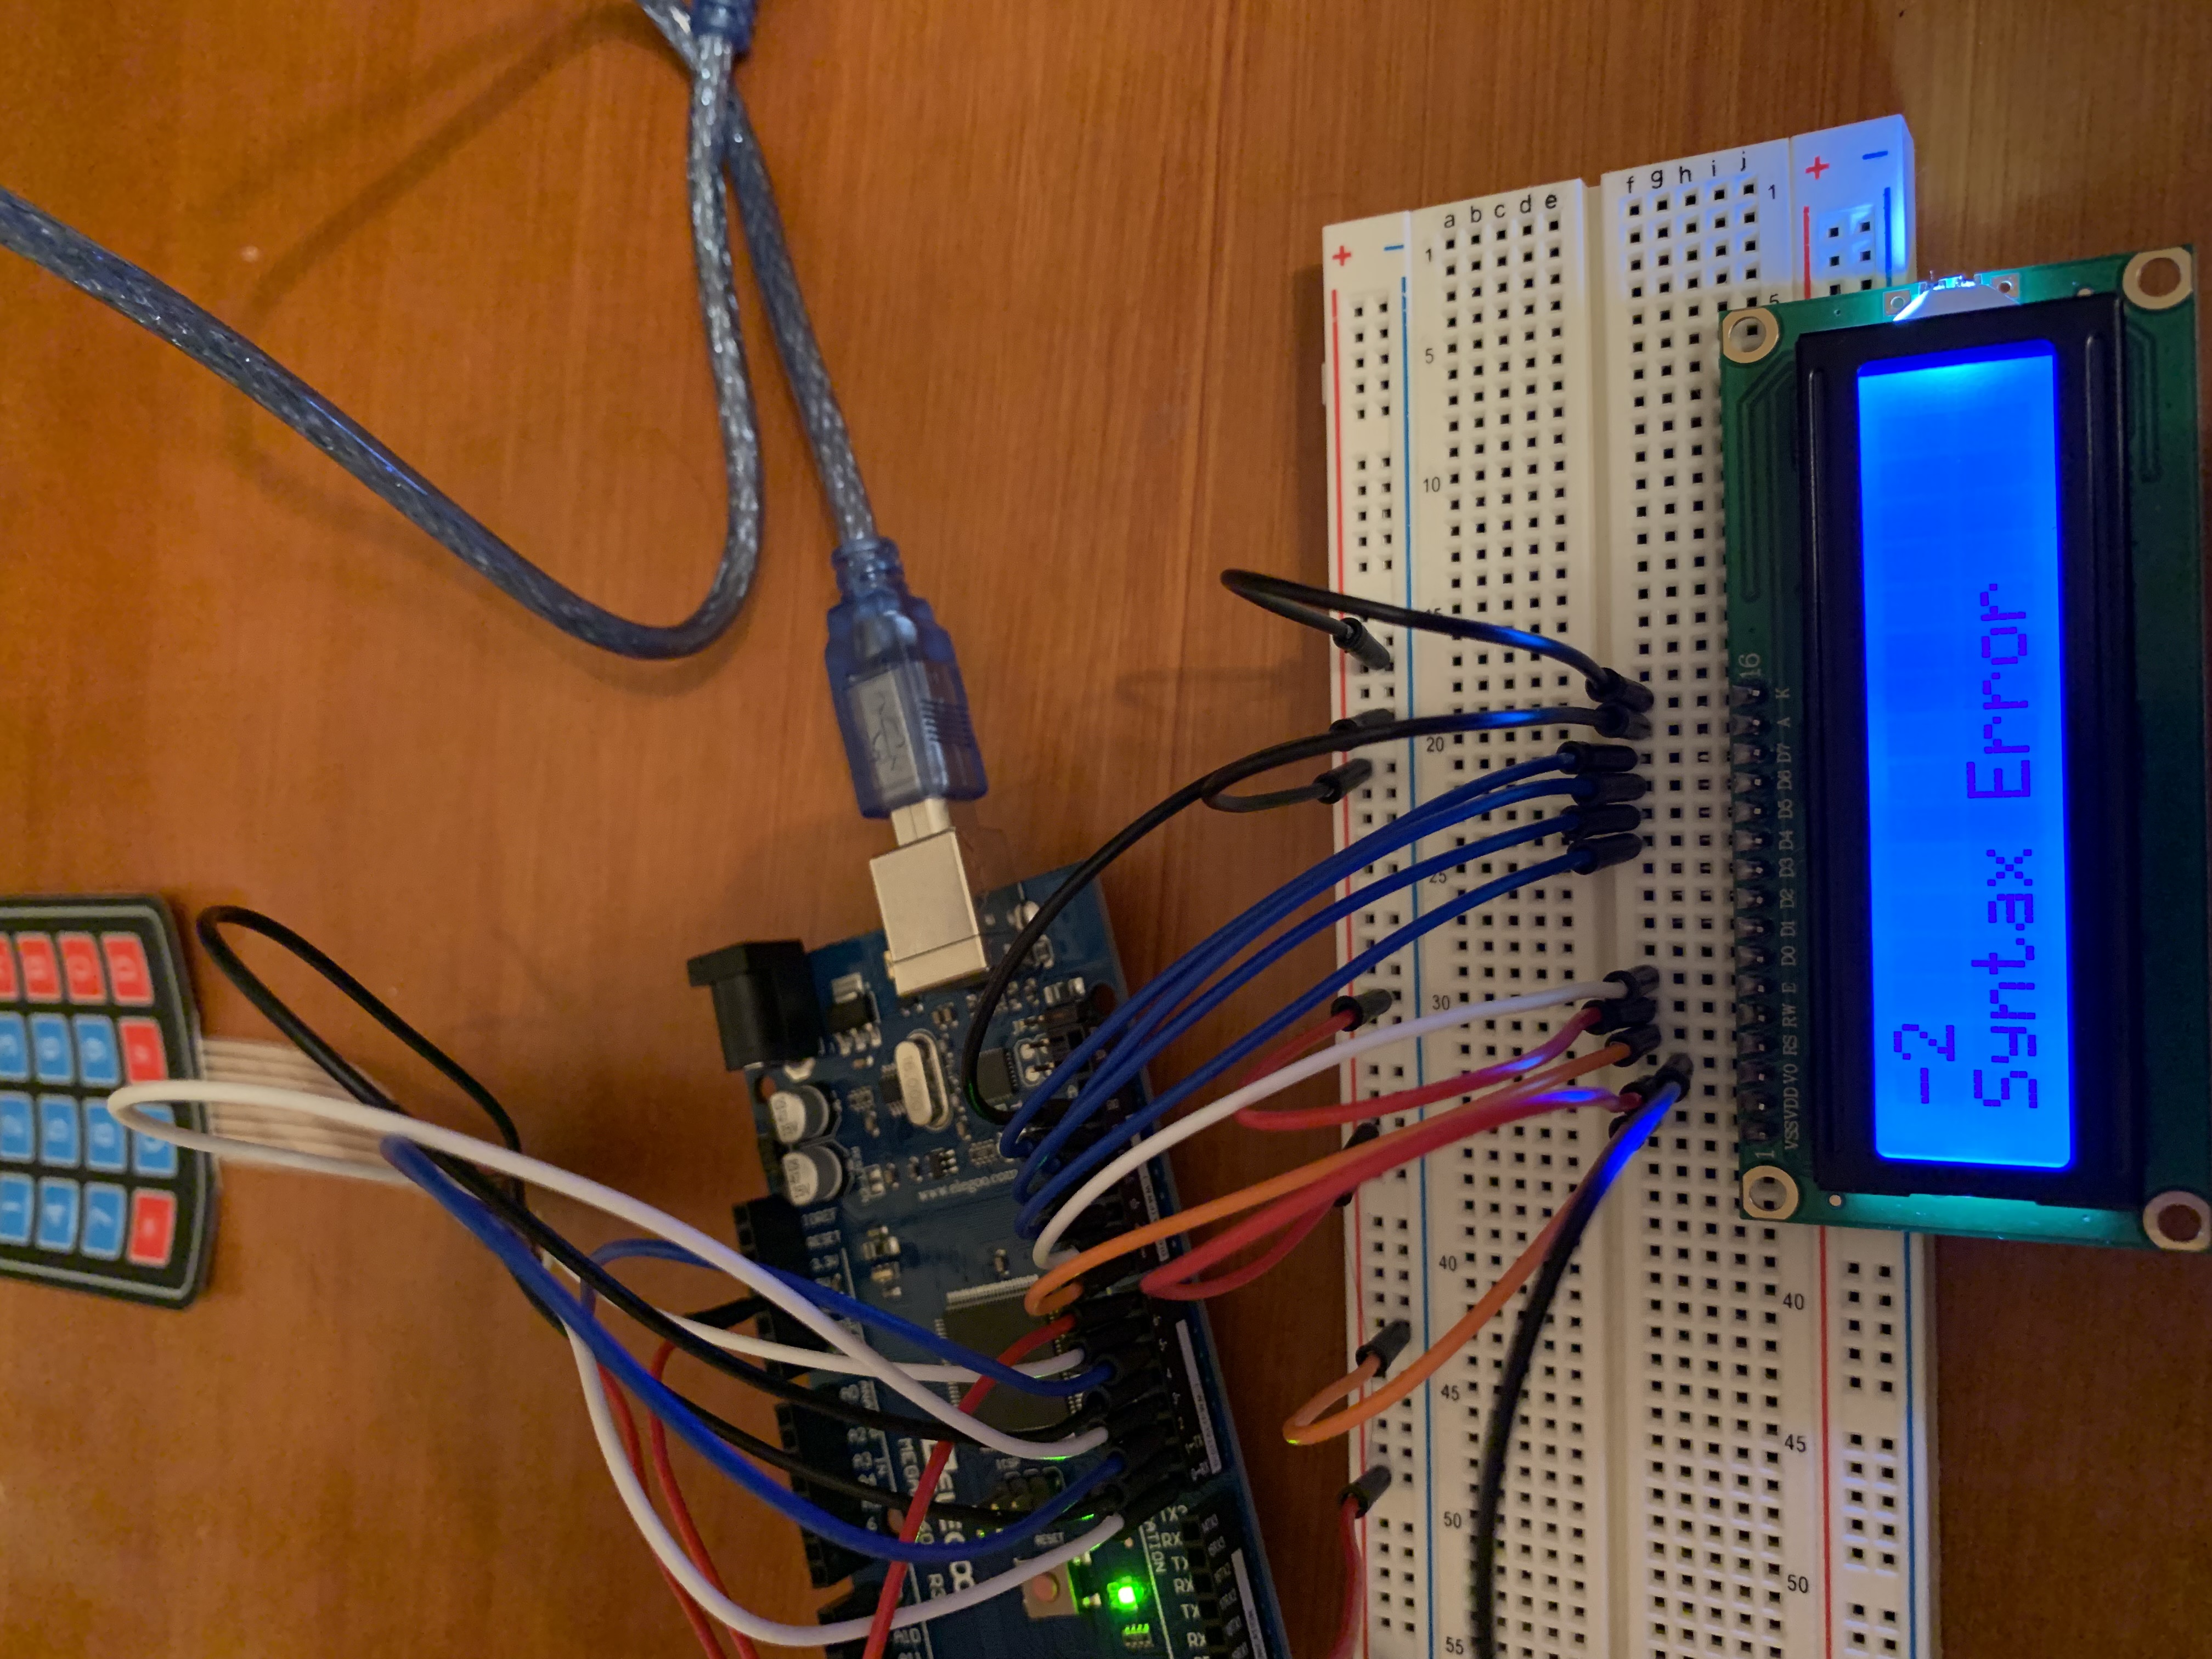
-2
Syntax Error
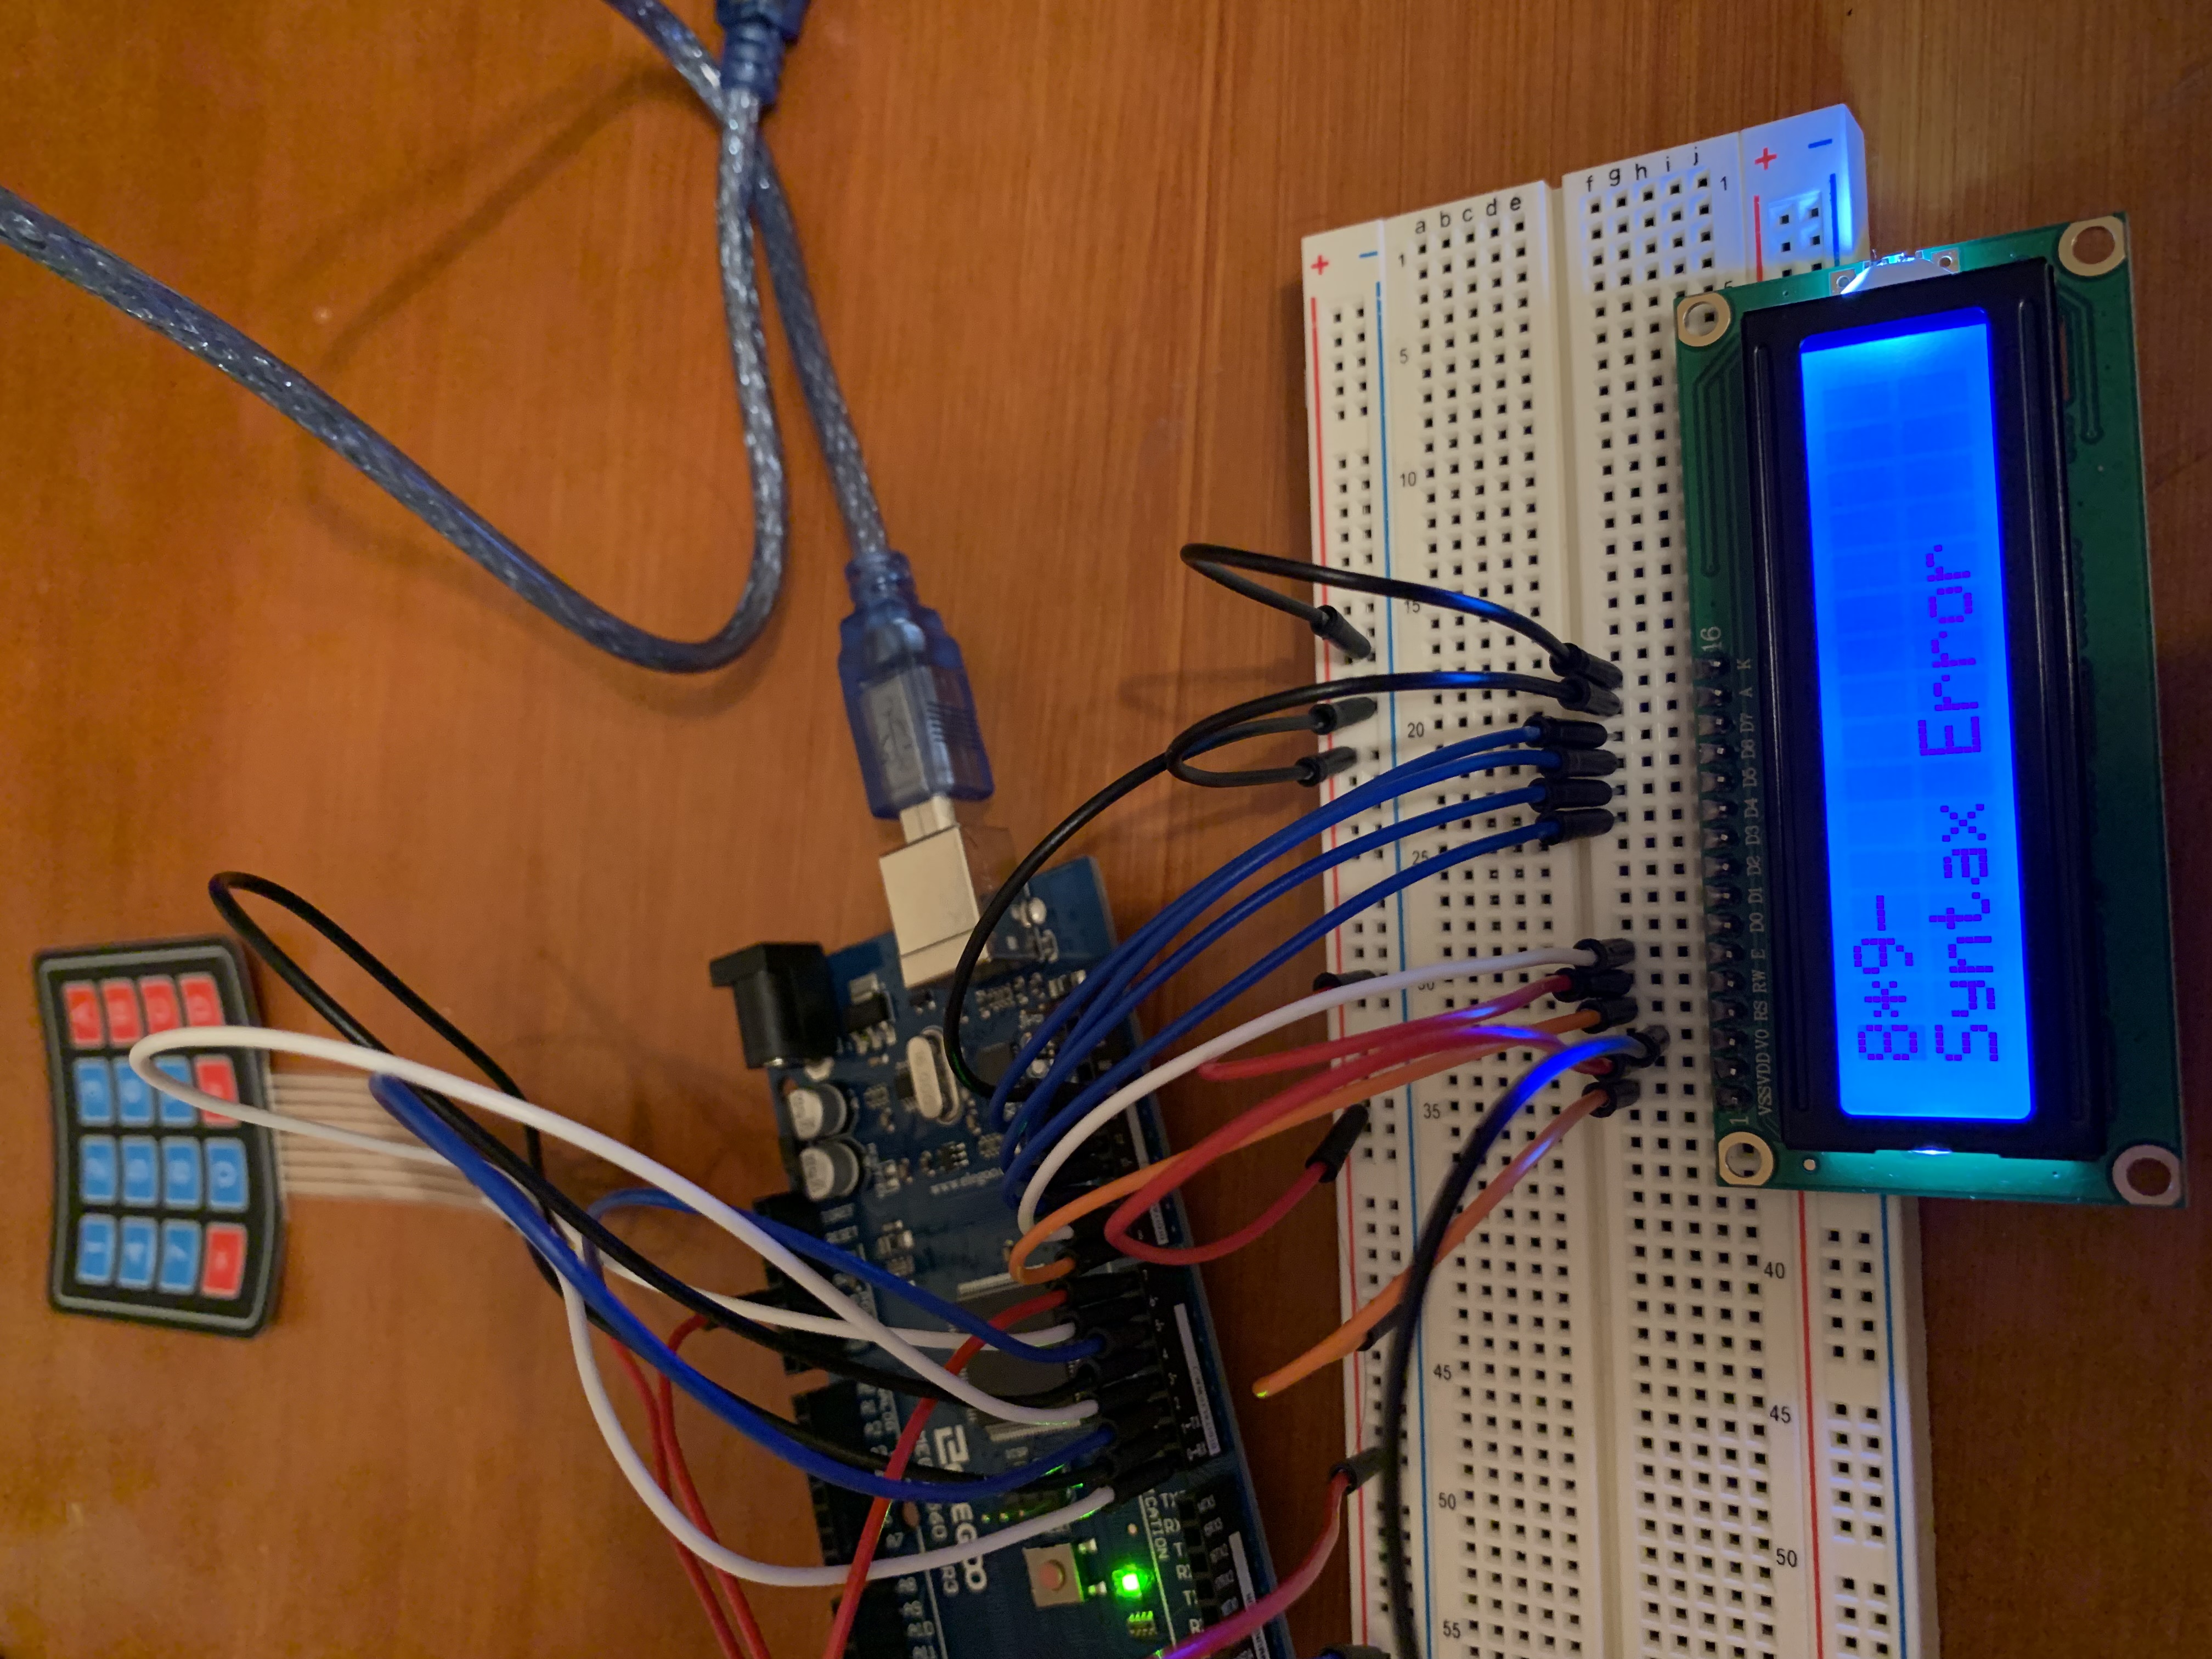
8*9-
Syntax Error
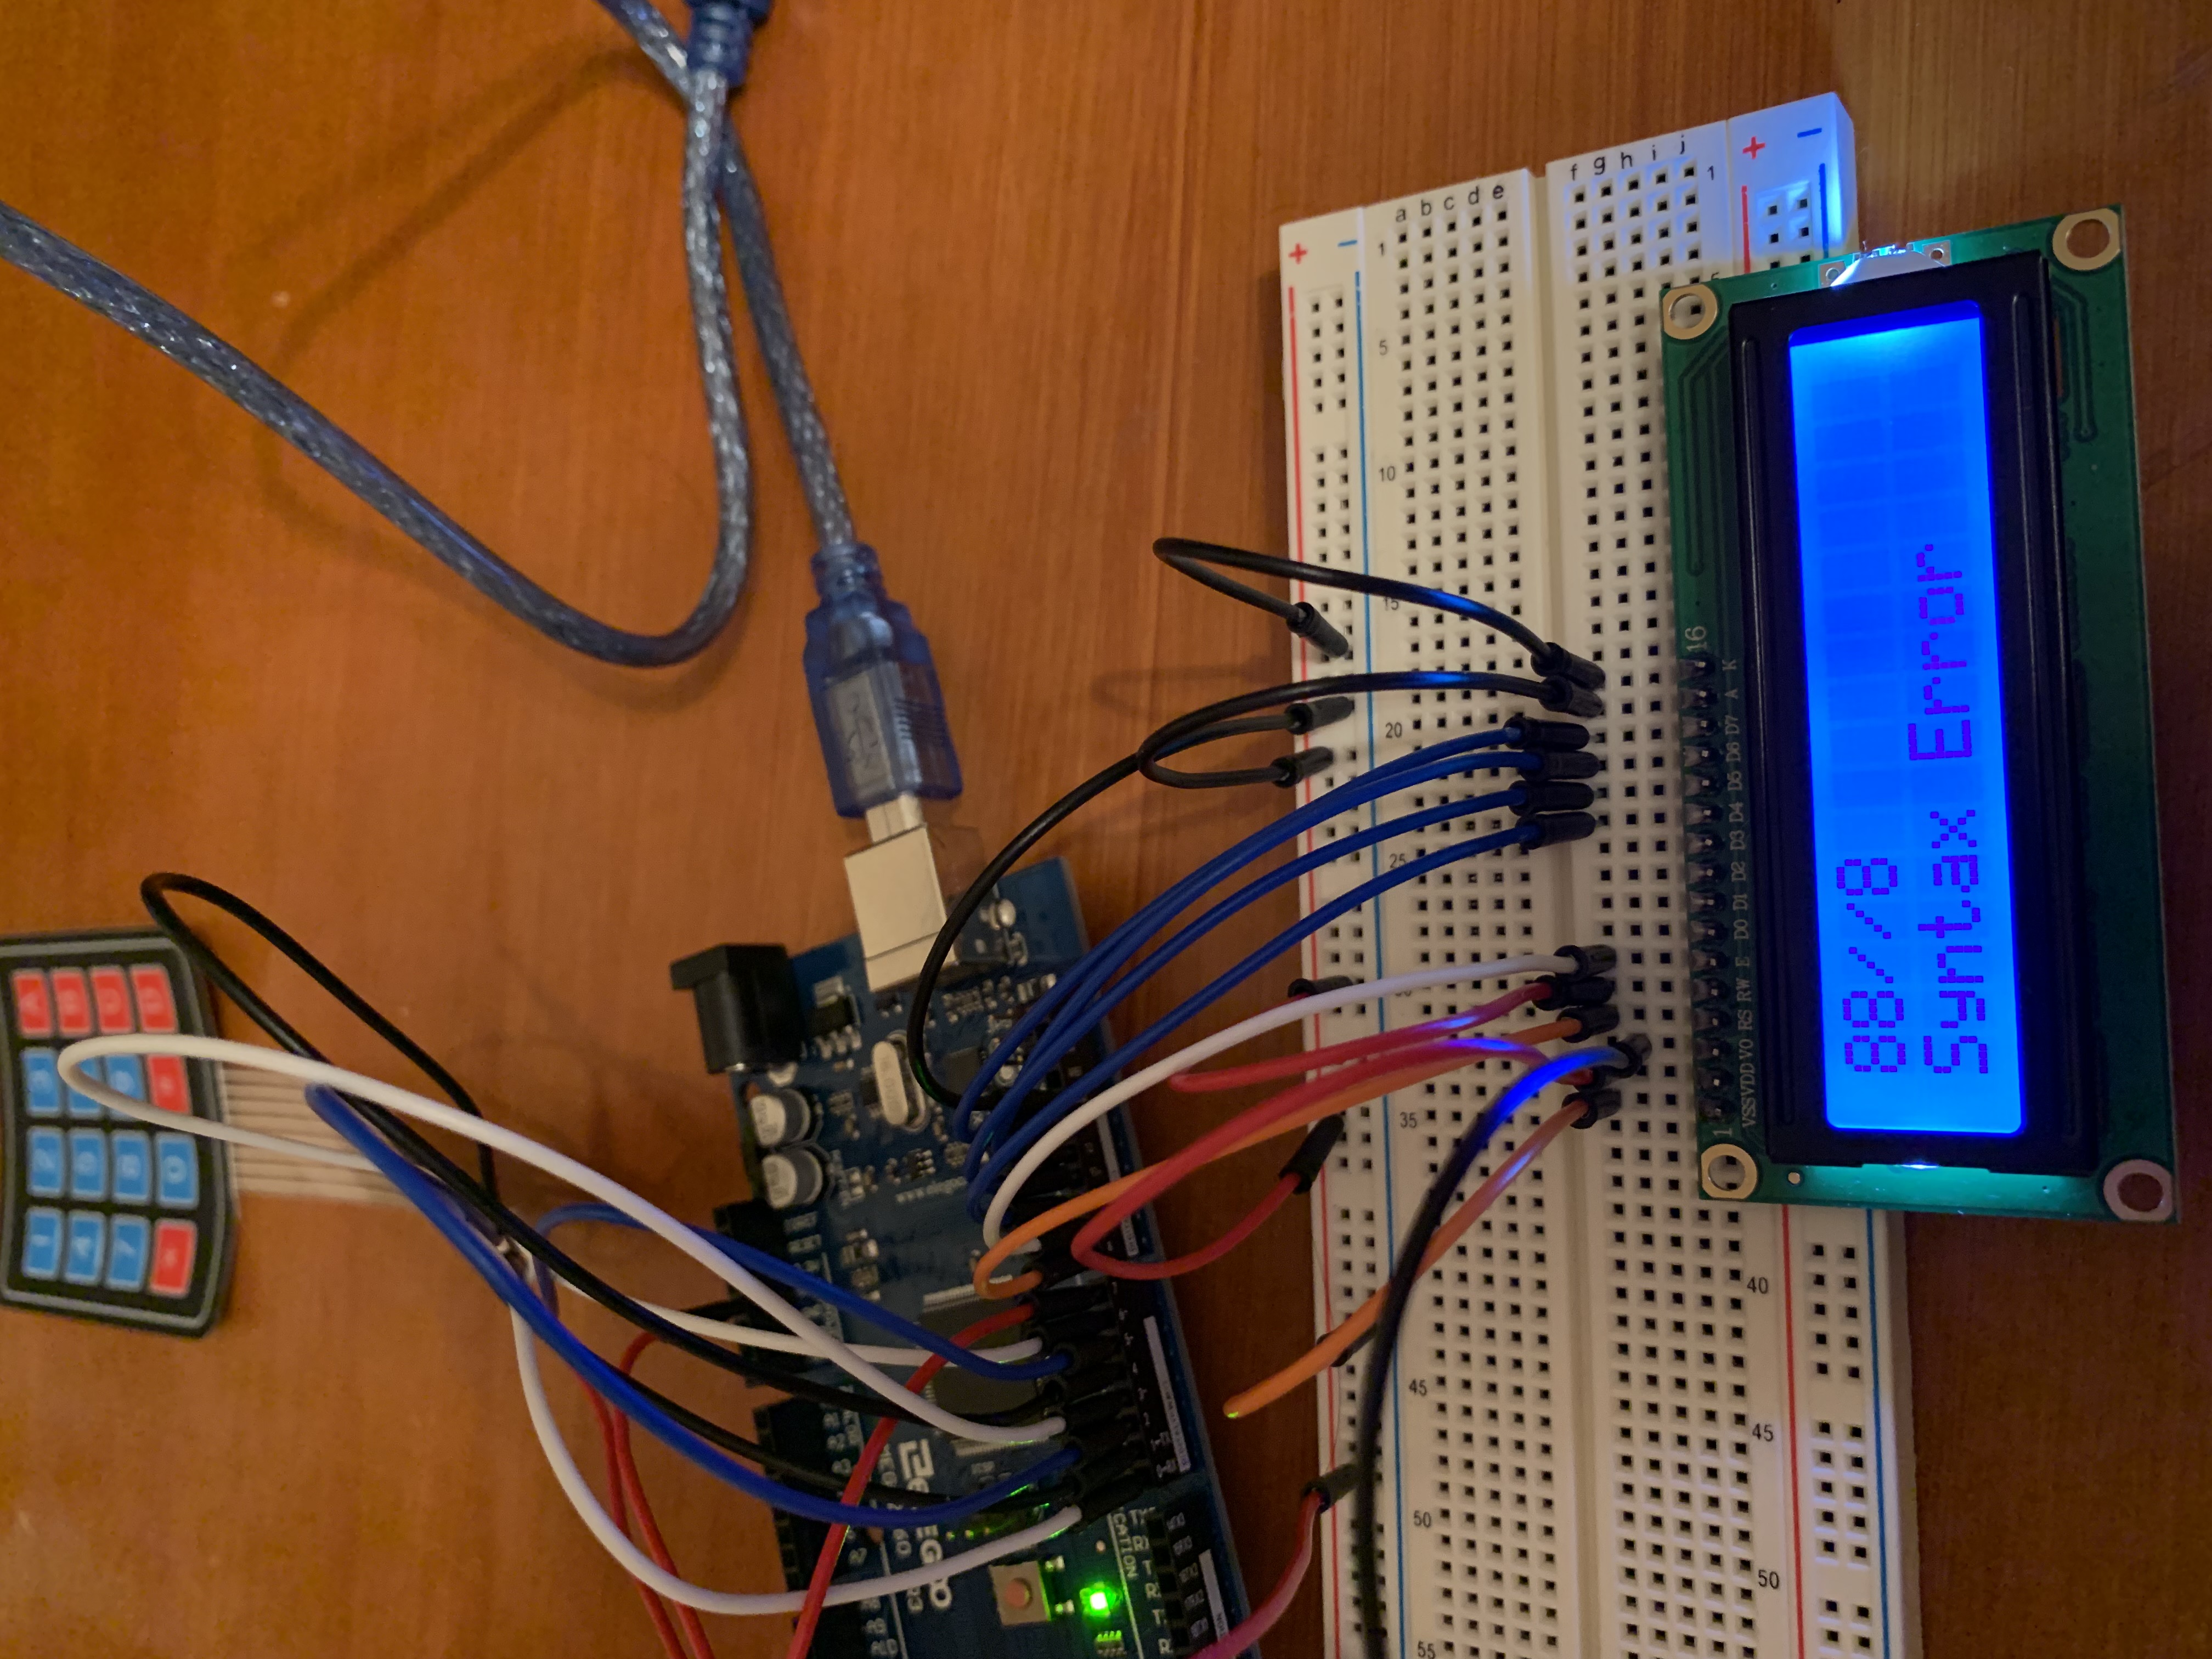
88//8
Syntax Error
Calculating
While taking input, the calculator puts all the operands into an expression array and all the operators into an operators
array. Both of these arrays can hold up to 16 operands or operators. There is a counter variable that keeps track of the next
available cell for both arrays. As input is received, the counter increments and separates the operators and operands into
their respective arrays. However, if I was to merge these two arrays, no data would be lost or overwritten. In the example
below, the expression array is the first row and the operators array is the second row. (The underscores represent an
empty cell).
Note: the word empty in the following table denotes a variable which I have assigned to be -9999 and represent an "empty" cell in the expression table. The number 0 is used to represent an empty cell in the operators array.
| 878 | empty | 78 | empty | 2 | empty | 150 | empty | 25 | empty | empty | empty | empty | empty | empty | empty |
| 0 | - | 0 | * | 0 | + | 0 | / | 0 | 0 | 0 | 0 | 0 | 0 | 0 | 0 |
Before starting any calculation, the algorithm will check if the operations array is blank. If there are no operators in this array and the input is still valid, then the user gave a single number. In this case, the calculator will just print that given operand. This can be seen in the following example.
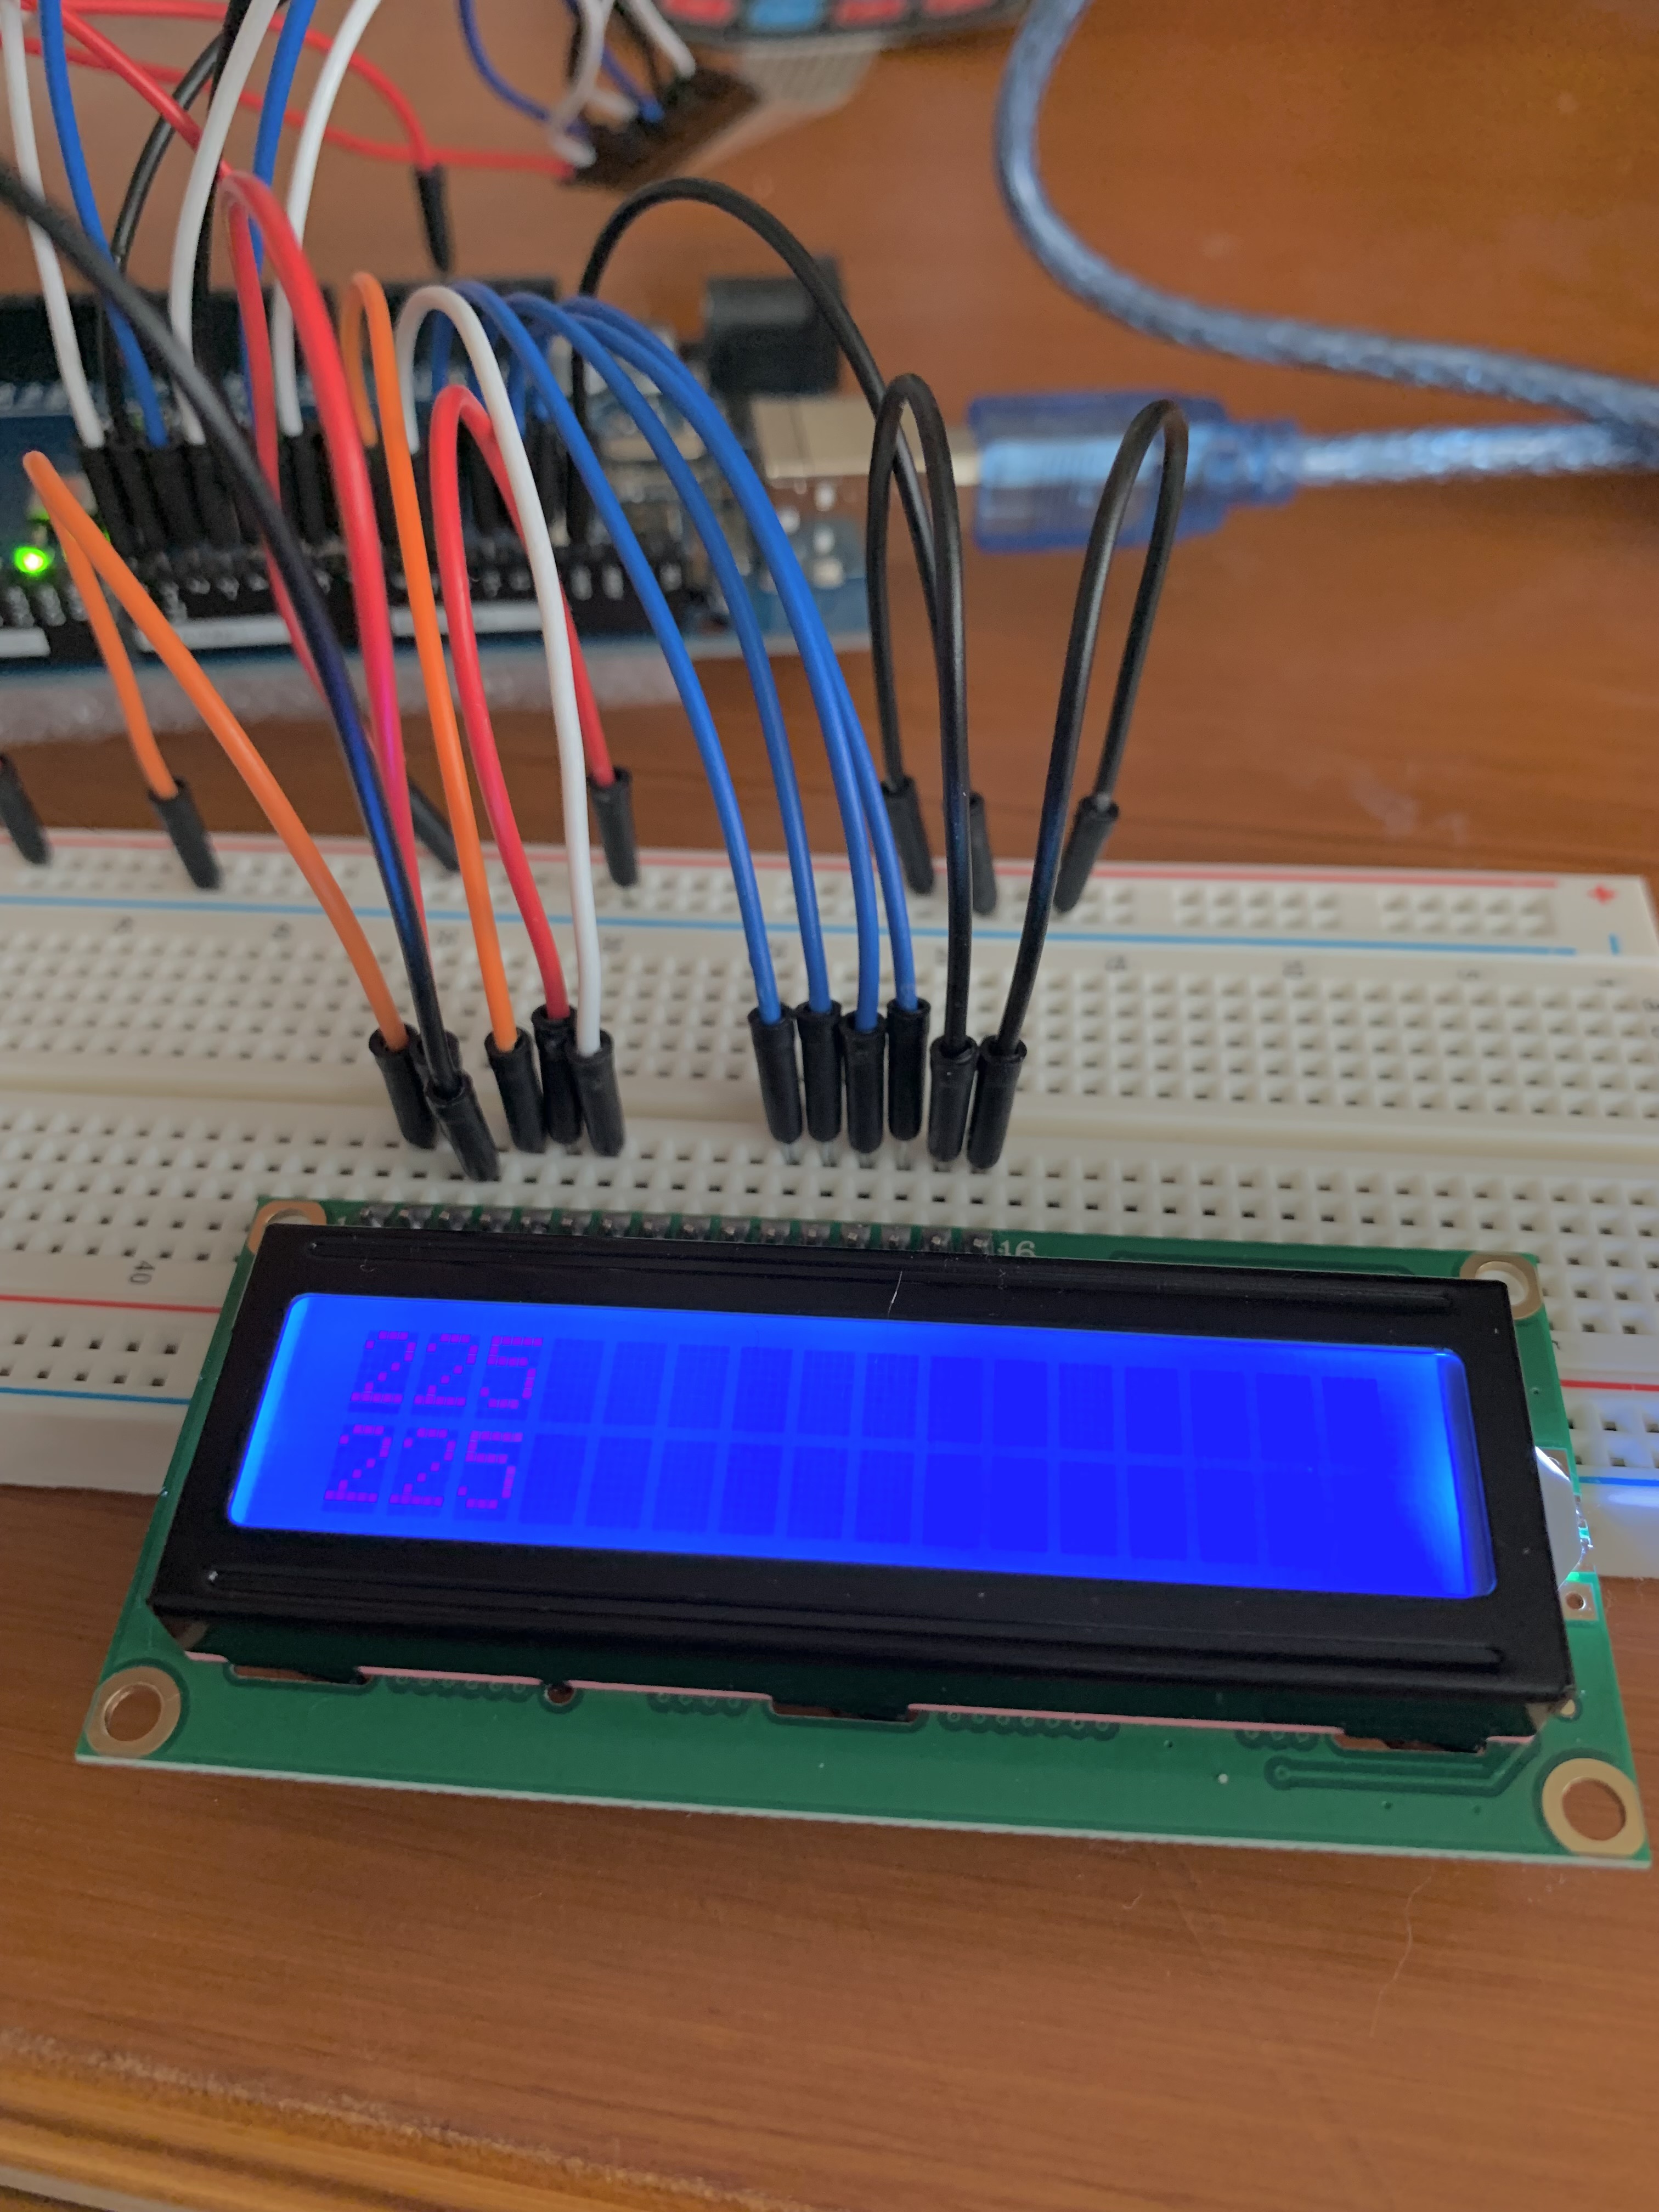
225
225
However, that is not likely to happen. In most cases, there is at least one operator. The calculation algorithm will go through all of the current operators in the operators array from left to right. The mathematical operations were assigned negative numbers to identify which operation should be done. (Addition is -1, subtraction is -2, multiplication is -3, and division is -4). As a result, the algorithm will find the mathematical operation with the lowest number and then go from there. However, since PEMDAS must be used for infix expressions, I added in some logic so that subtraction isn't prioritized over addition and division isn't prioritized over multiplication. Namely, if the current lowest number is -1 and the only other cell in the array is -2 (denoting subtraction), the algorithm will not do the subtraction first. The same goes for multiplication and division. Of course, if the operation is multiplication or division, these operations will always be prioritized over addition and subtraction.
After the algorithm determines which operation in the expression to do first, then it will find the indicies of the cells of the operands to operate on. It will take the index of the operator, go to the expression array, and find the nearest operand to its left and right. Then, it will do the operation and place the result in the index of the operator in the expression array.
Looking at the same example as before, the first operator that would be evaluated in the expression would be the multiplication operator in the 4th cell (index 3). The algorithm would find that the closest operand to the 4th cell of the expression array is 78. To its right, the closest operand would be 2.
| 878 | empty | 78 | empty | 2 | empty | 150 | empty | 25 | empty | empty | empty | empty | empty | empty | empty |
| 0 | - | 0 | * | 0 | + | 0 | / | 0 | 0 | 0 | 0 | 0 | 0 | 0 | 0 |
After completing the multiplication operation, the arrays would look like the following:
| 878 | empty | empty | 156 | empty | empty | 150 | empty | 25 | empty | empty | empty | empty | empty | empty | empty |
| 0 | - | 0 | 0 | 0 | + | 0 | / | 0 | 0 | 0 | 0 | 0 | 0 | 0 | 0 |
Next, the algorithm completes these instructions. The next part of the expression that it would evaluate is 150/5, which has a similar structure to the multiplication operation. After that, the algorithm would evaluate 878-156 and so on. Overall, the operations array is reduced to all 0's and the expression array will only have 1 value left that is not empty, which is the answer. Once the algorithm verifies this, then it will return the value remaining in the expression array.
Last but not least, there are a couple notes about my calculator's division. First, since my program uses integer arrays for both the operands and operators, it can only do integer division. In other words, any quotients with decimal points will be rounded down. Specifically, 5/20 (0.25) and 99/100 (0.99) both evaluate to 0 on my calculator even though the latter expression is much closer to 1 than the former. Second, I also added in some logic to handle cases in which the user might try to divide by zero. The right operand (denominator) is checked before the operation is executed.
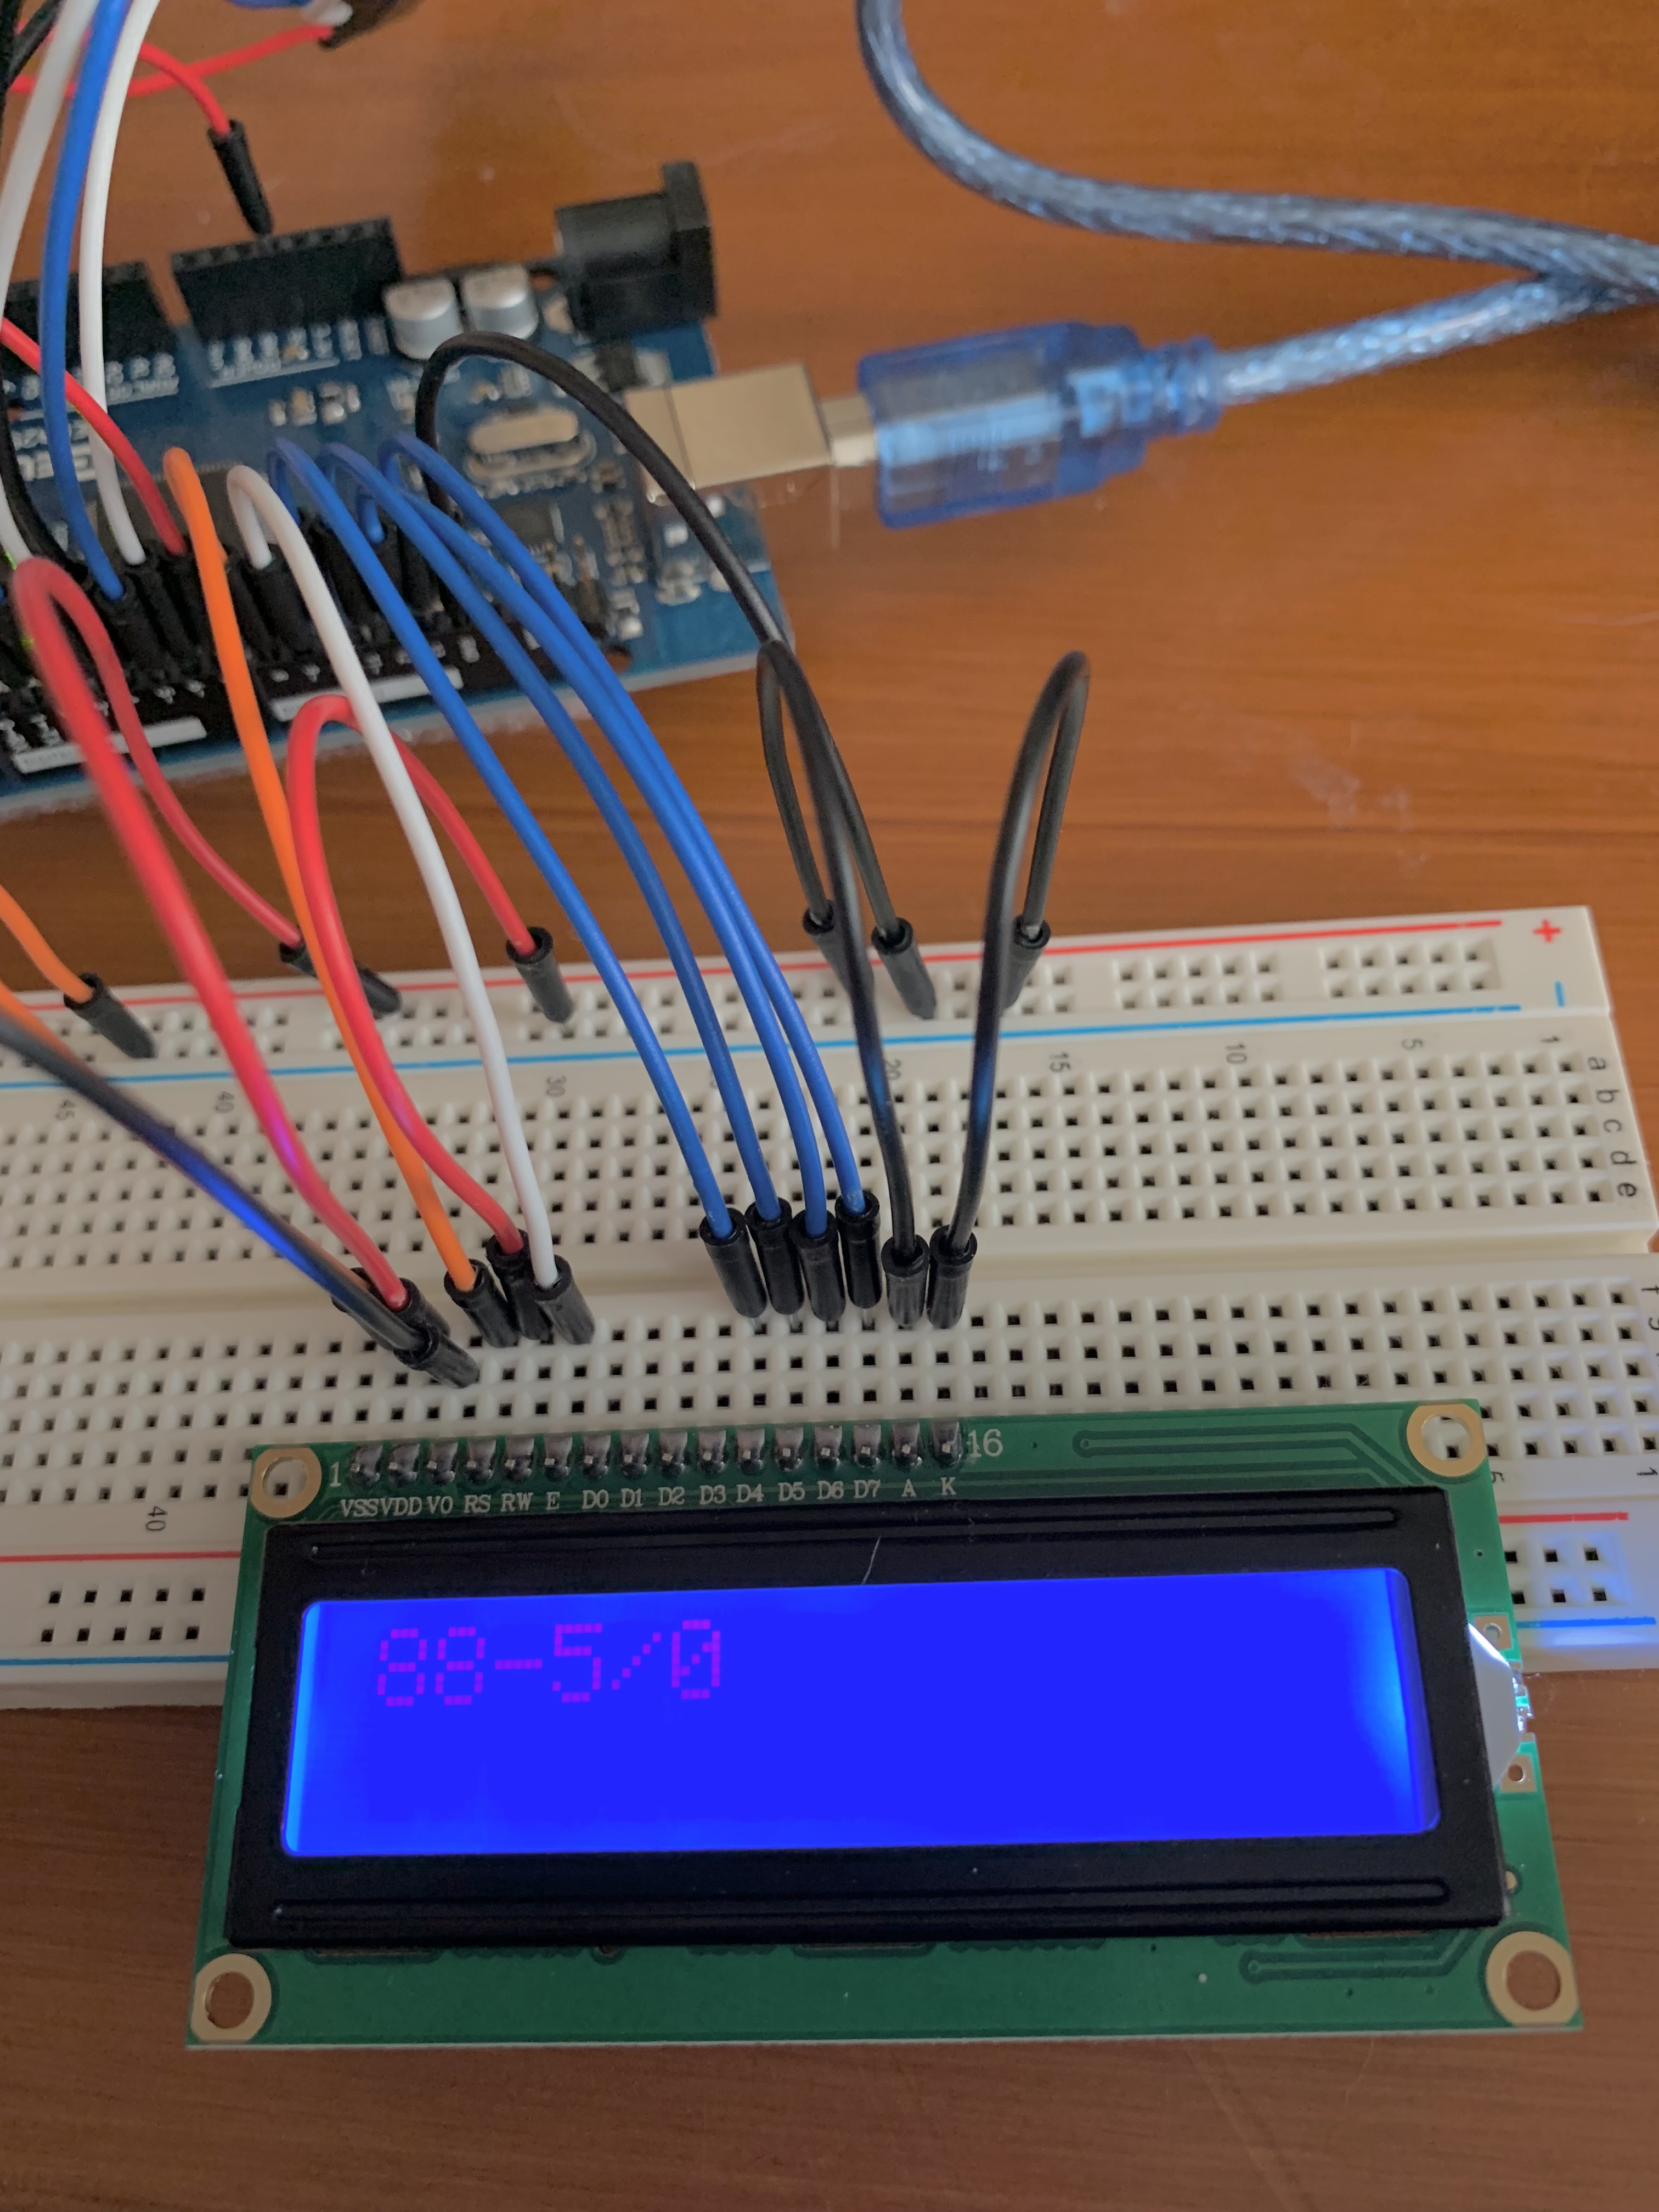
88-5/0
Syntax Error
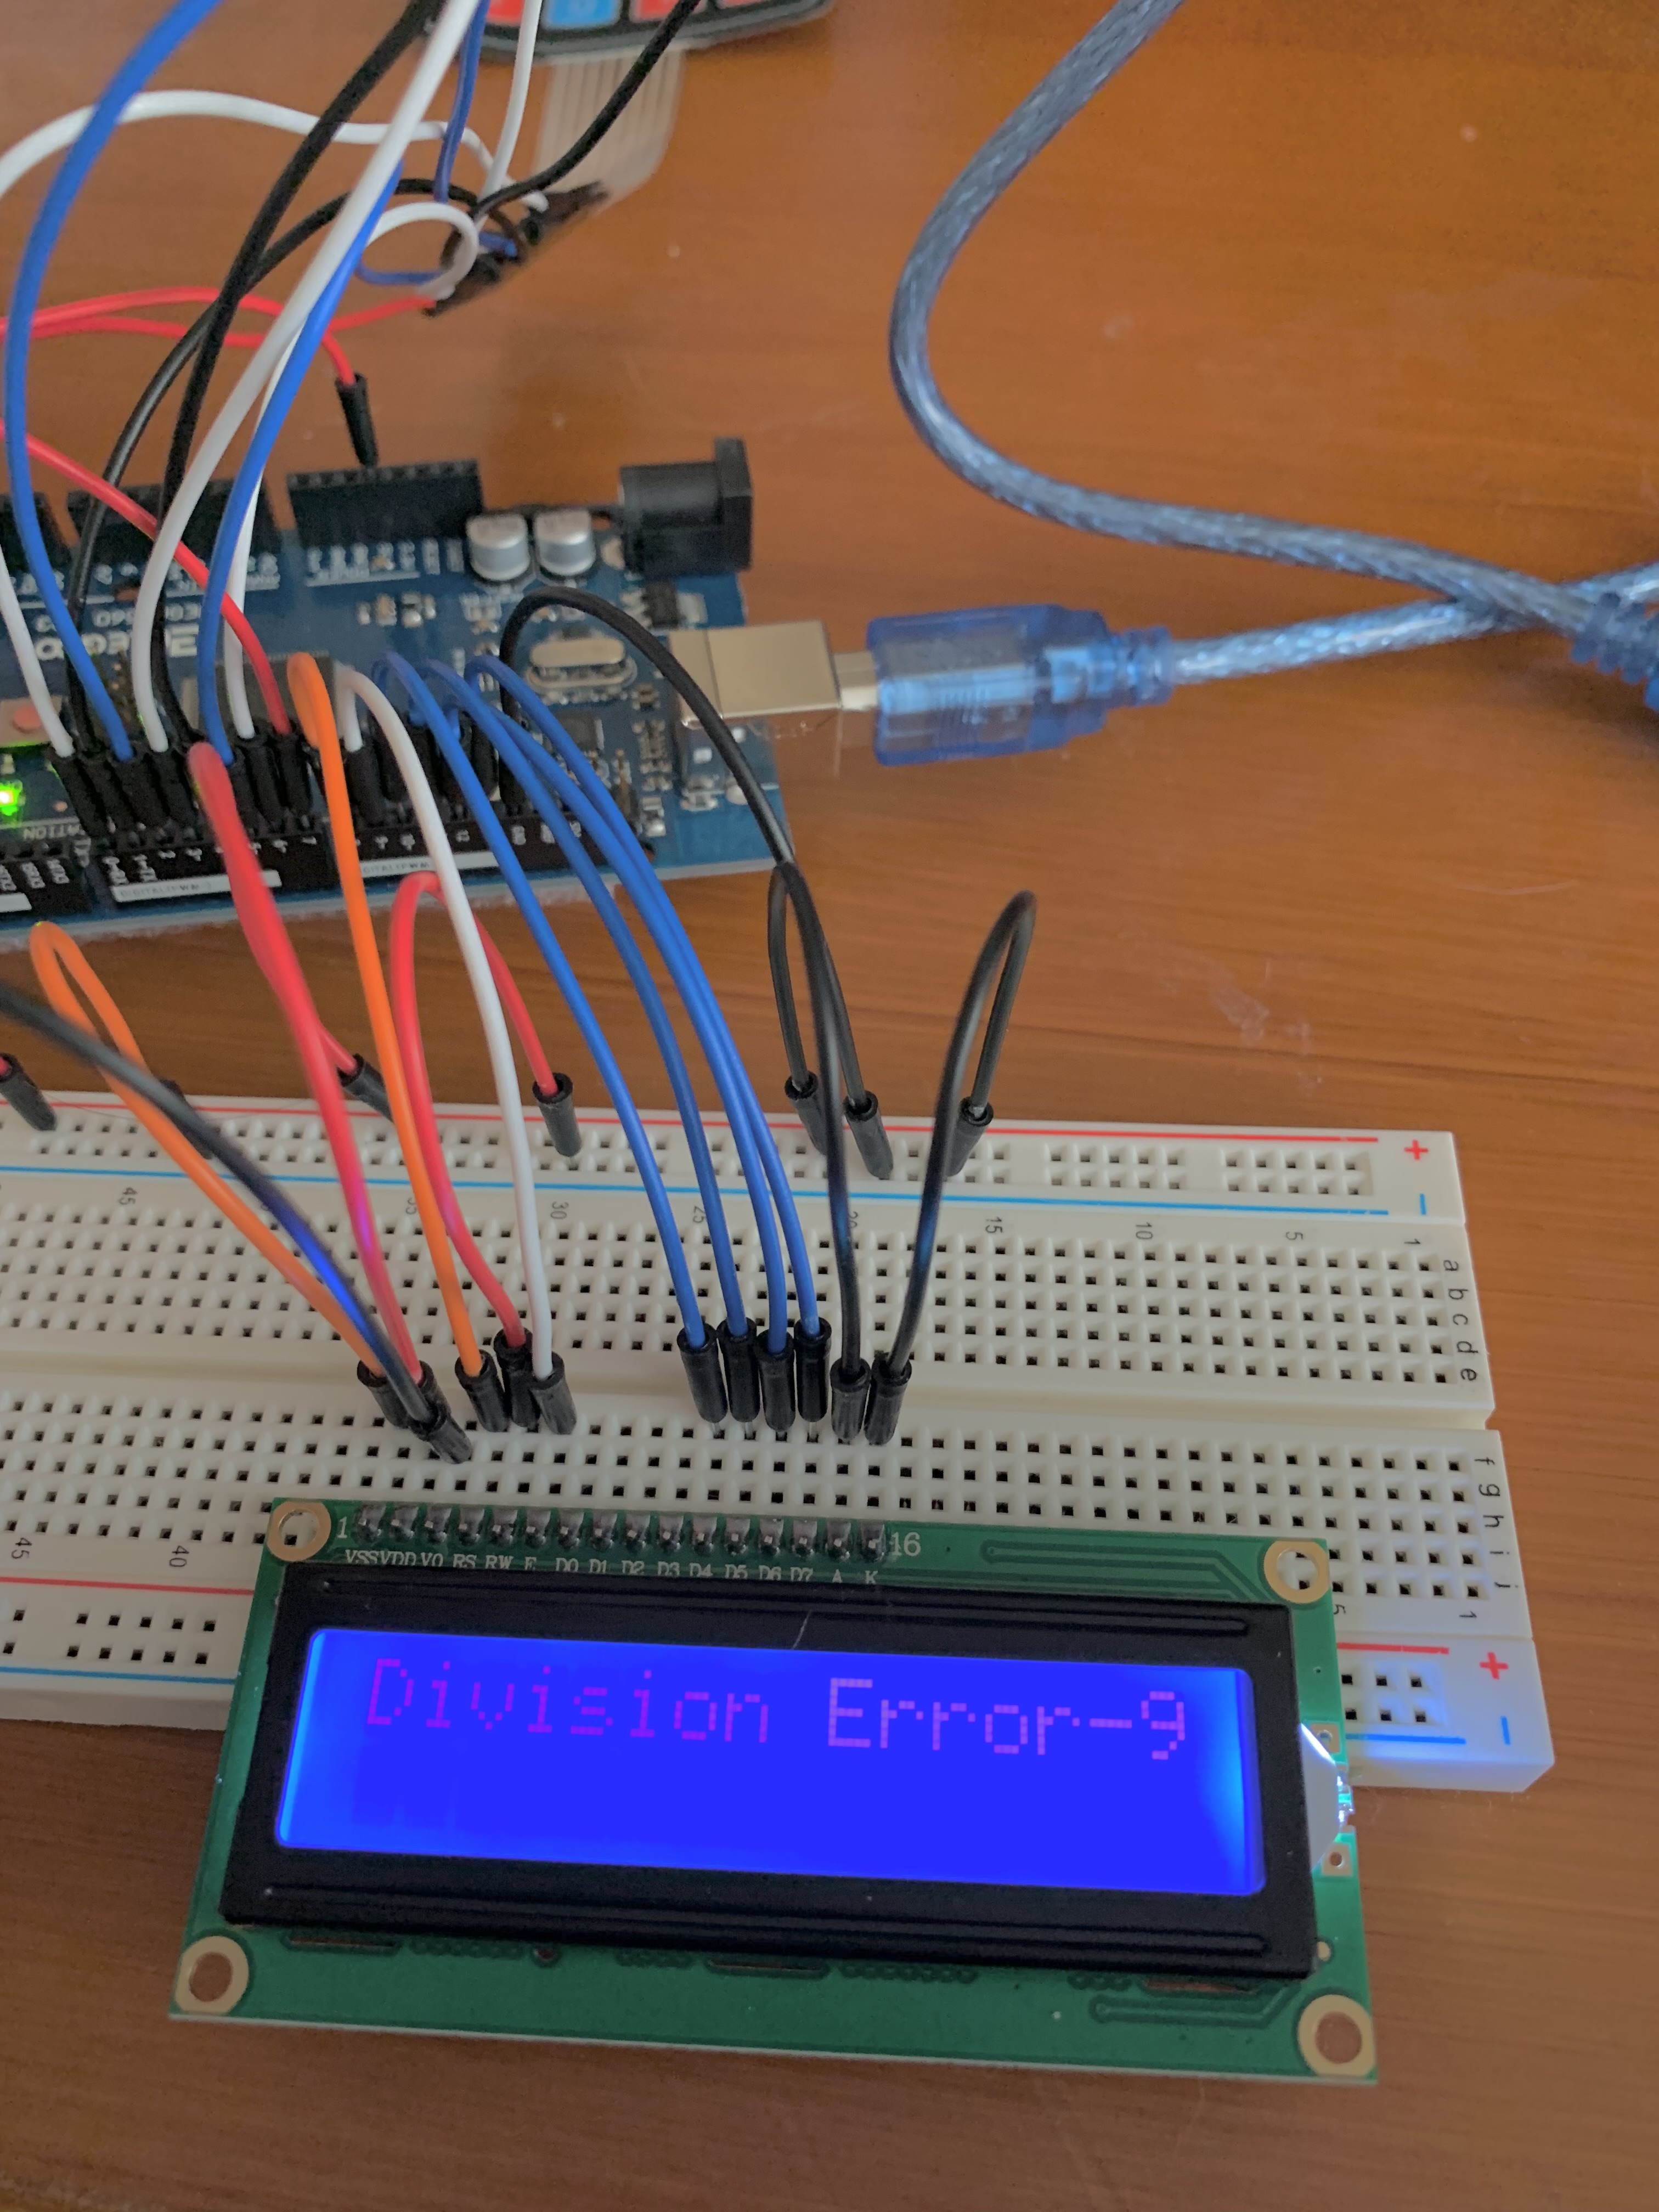
Division Error-9
Testing
Since this is a calculator, I wanted to ensure its functionality was reliable so I tested a variety of outputs from simple to
complex. I confirmed my calculator's answer with another calculator. Here are some examples of expressions I tested
(while also occassionally giving my calculator invalid expressions):
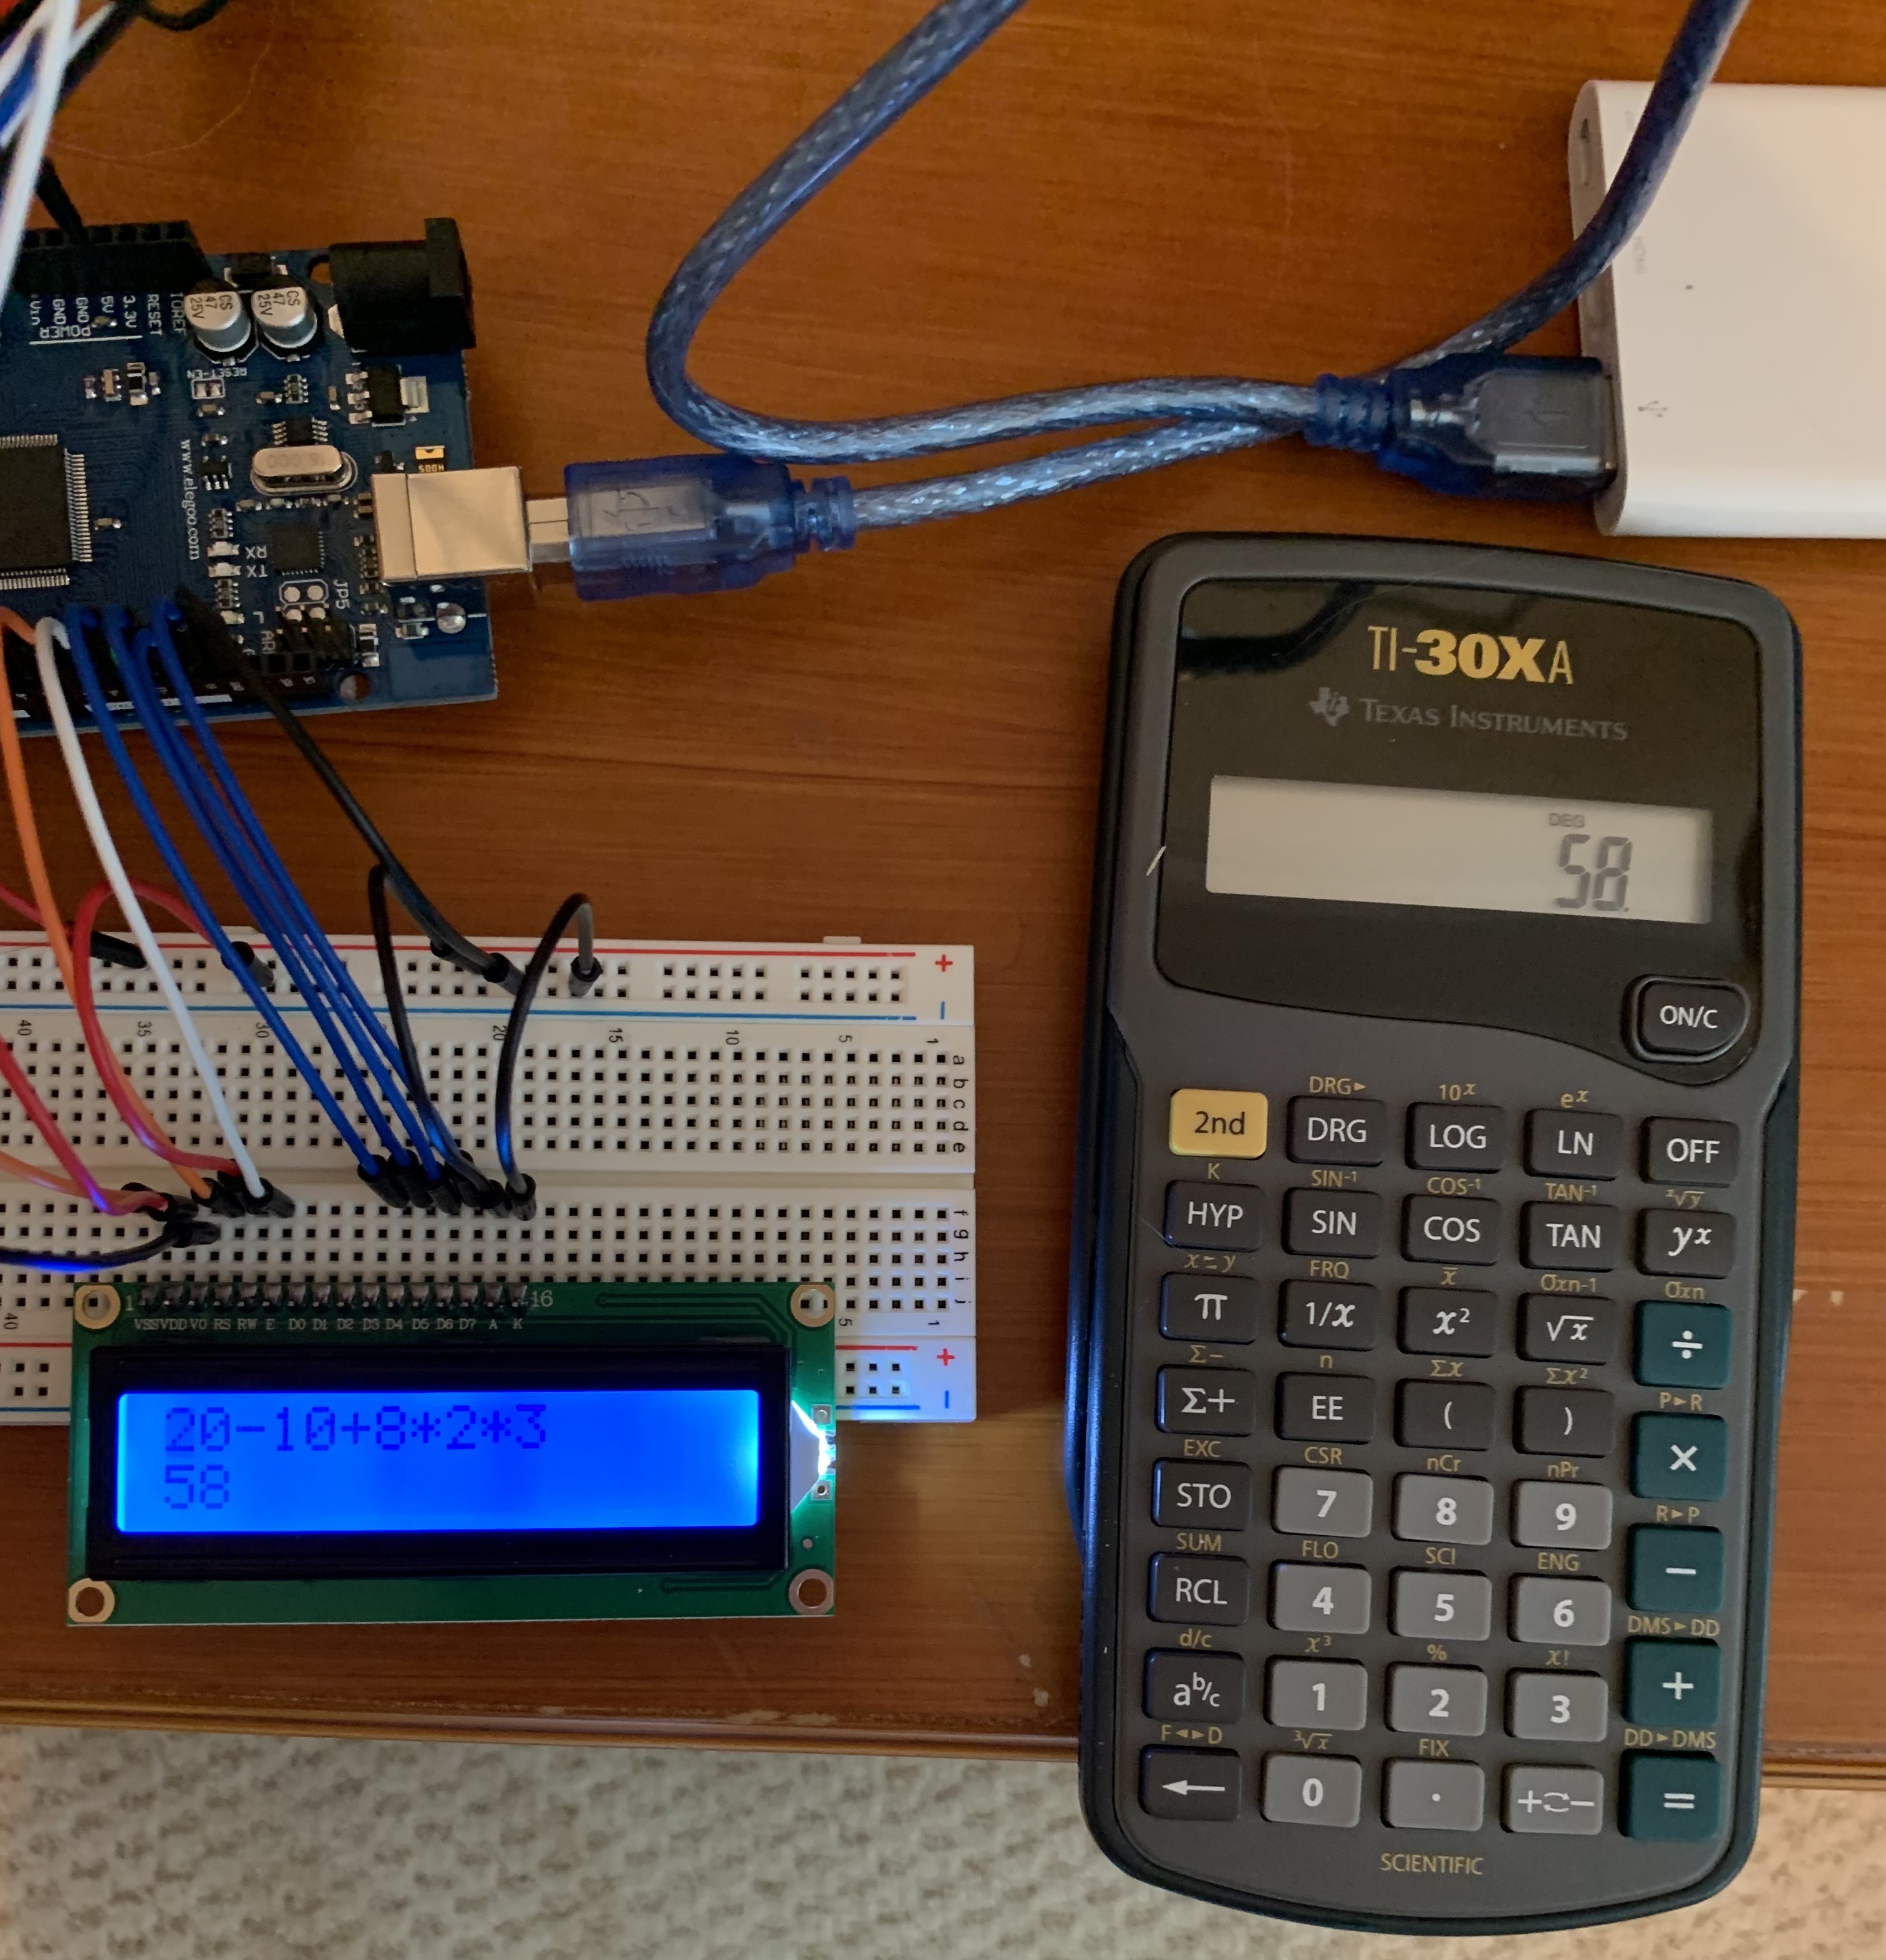
20-10+8*2*3
58
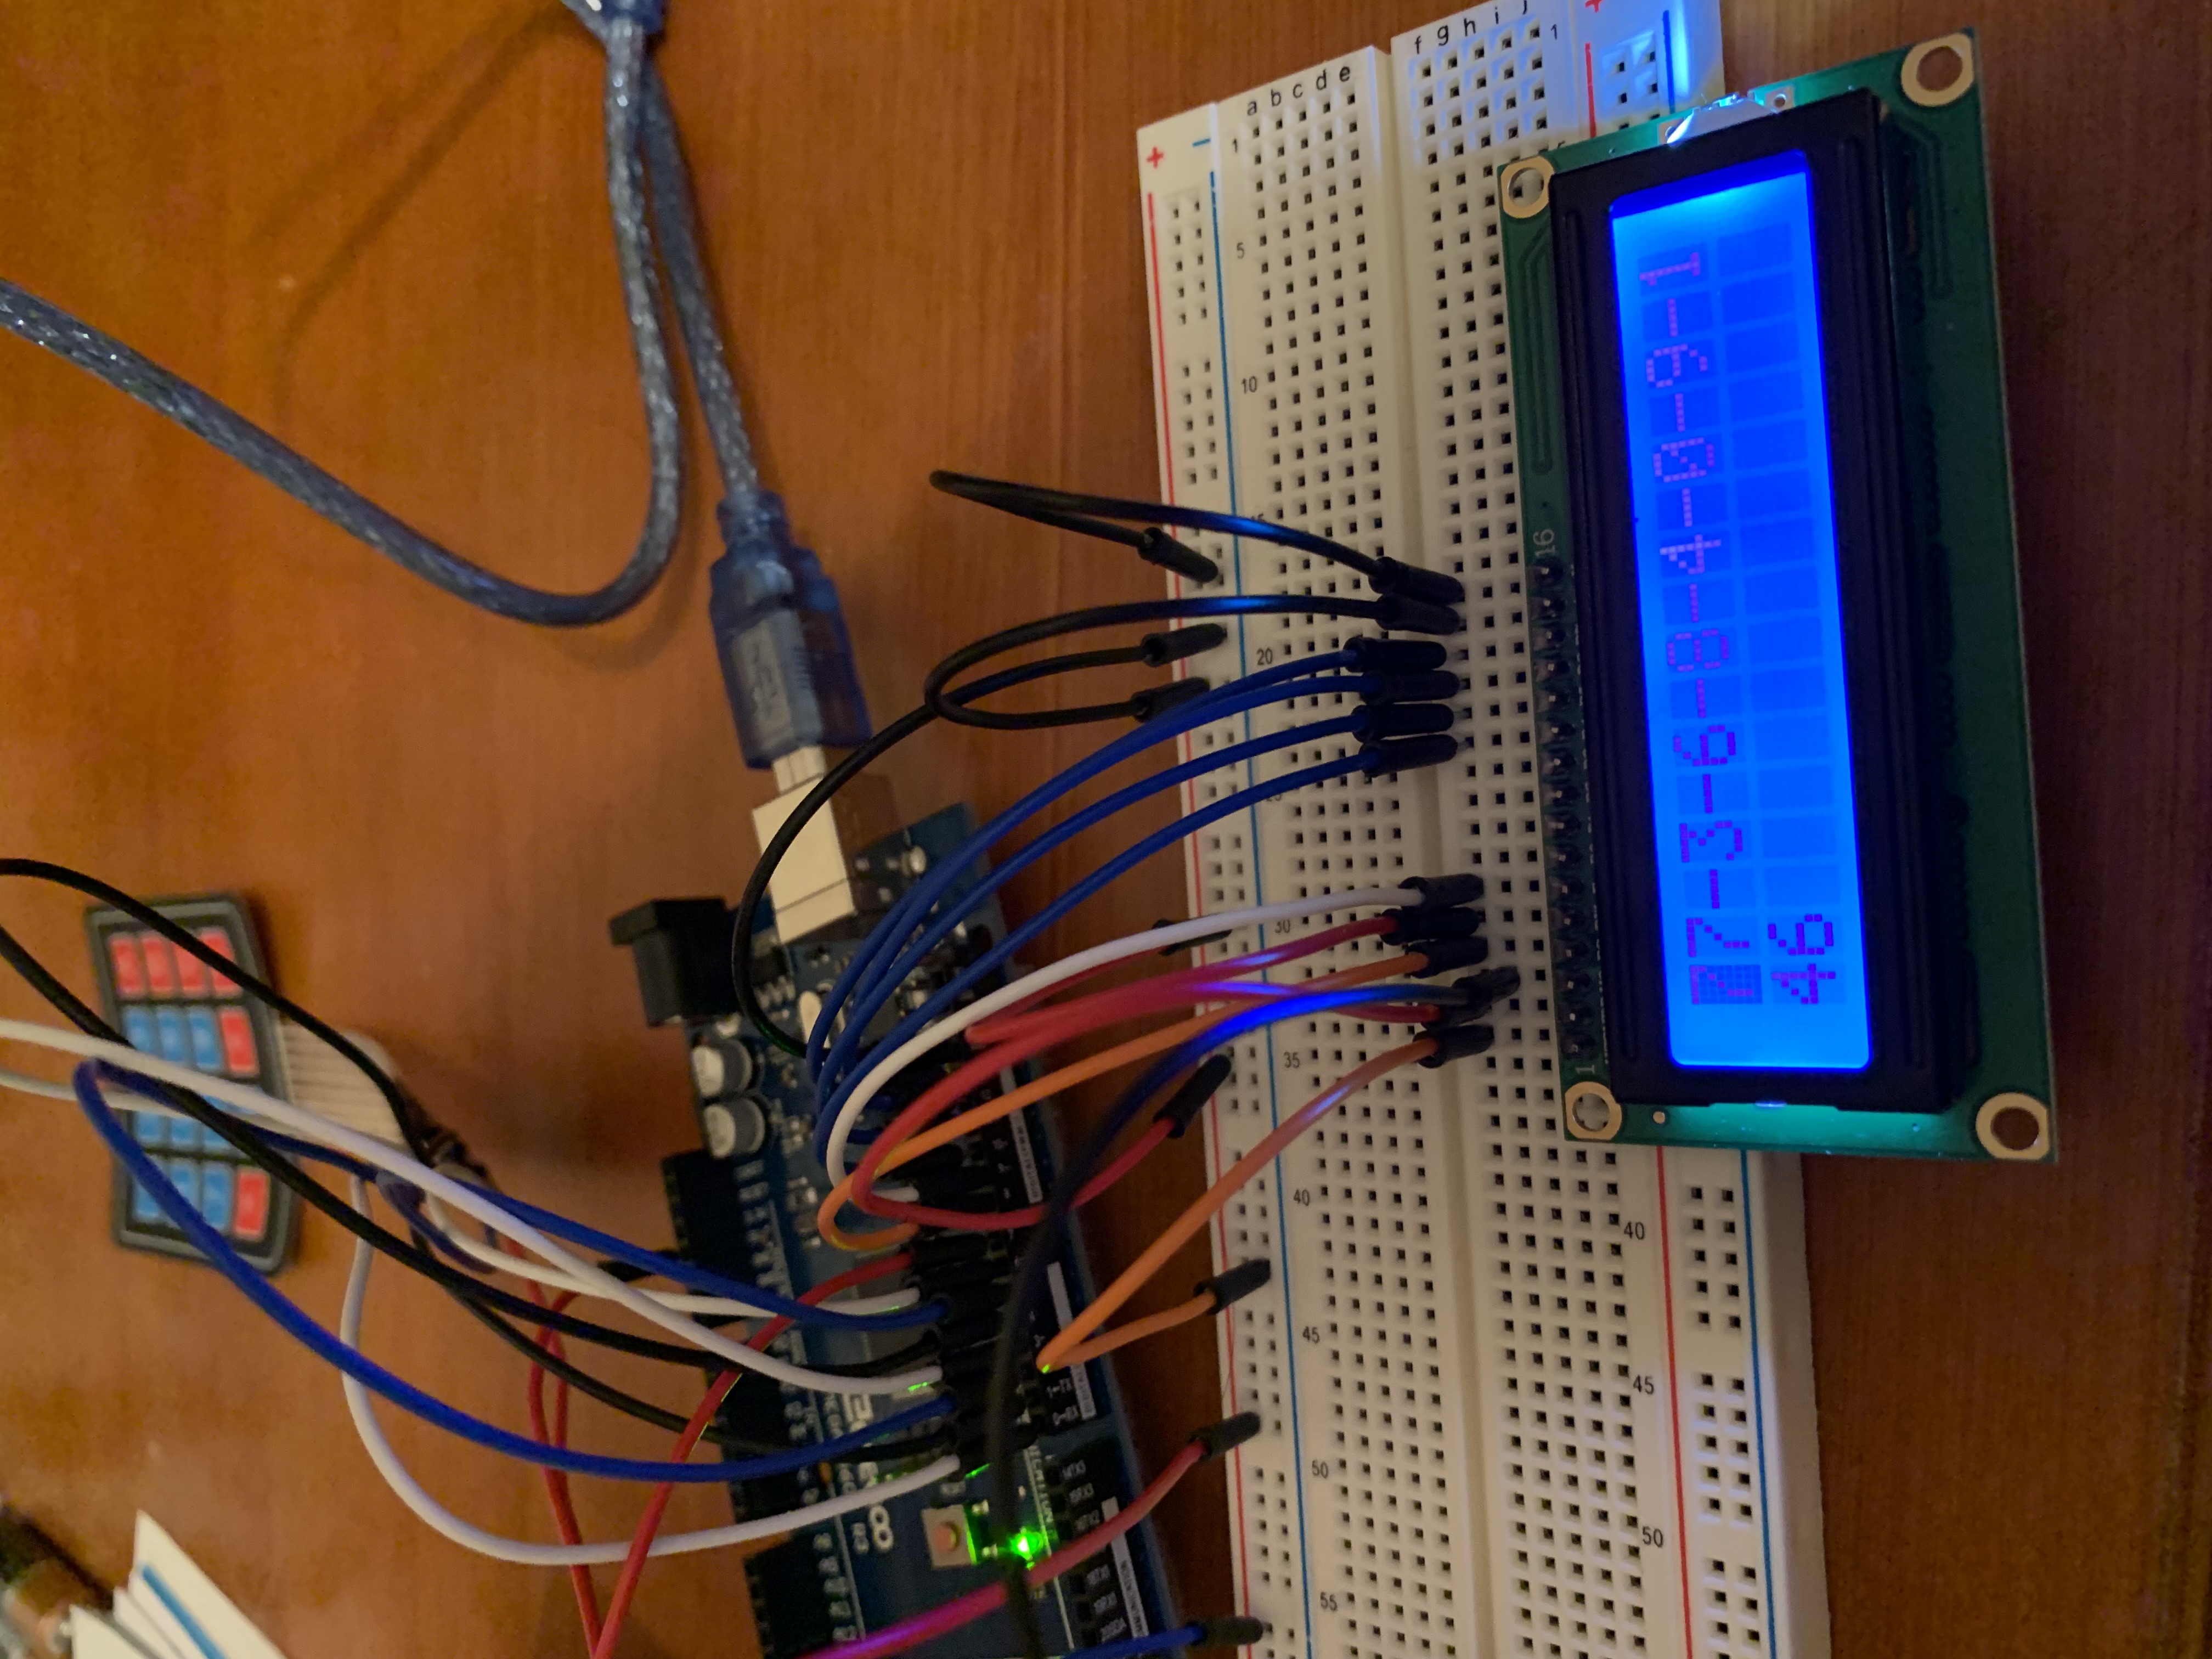
77-3-6-8-4-0-9-1
46
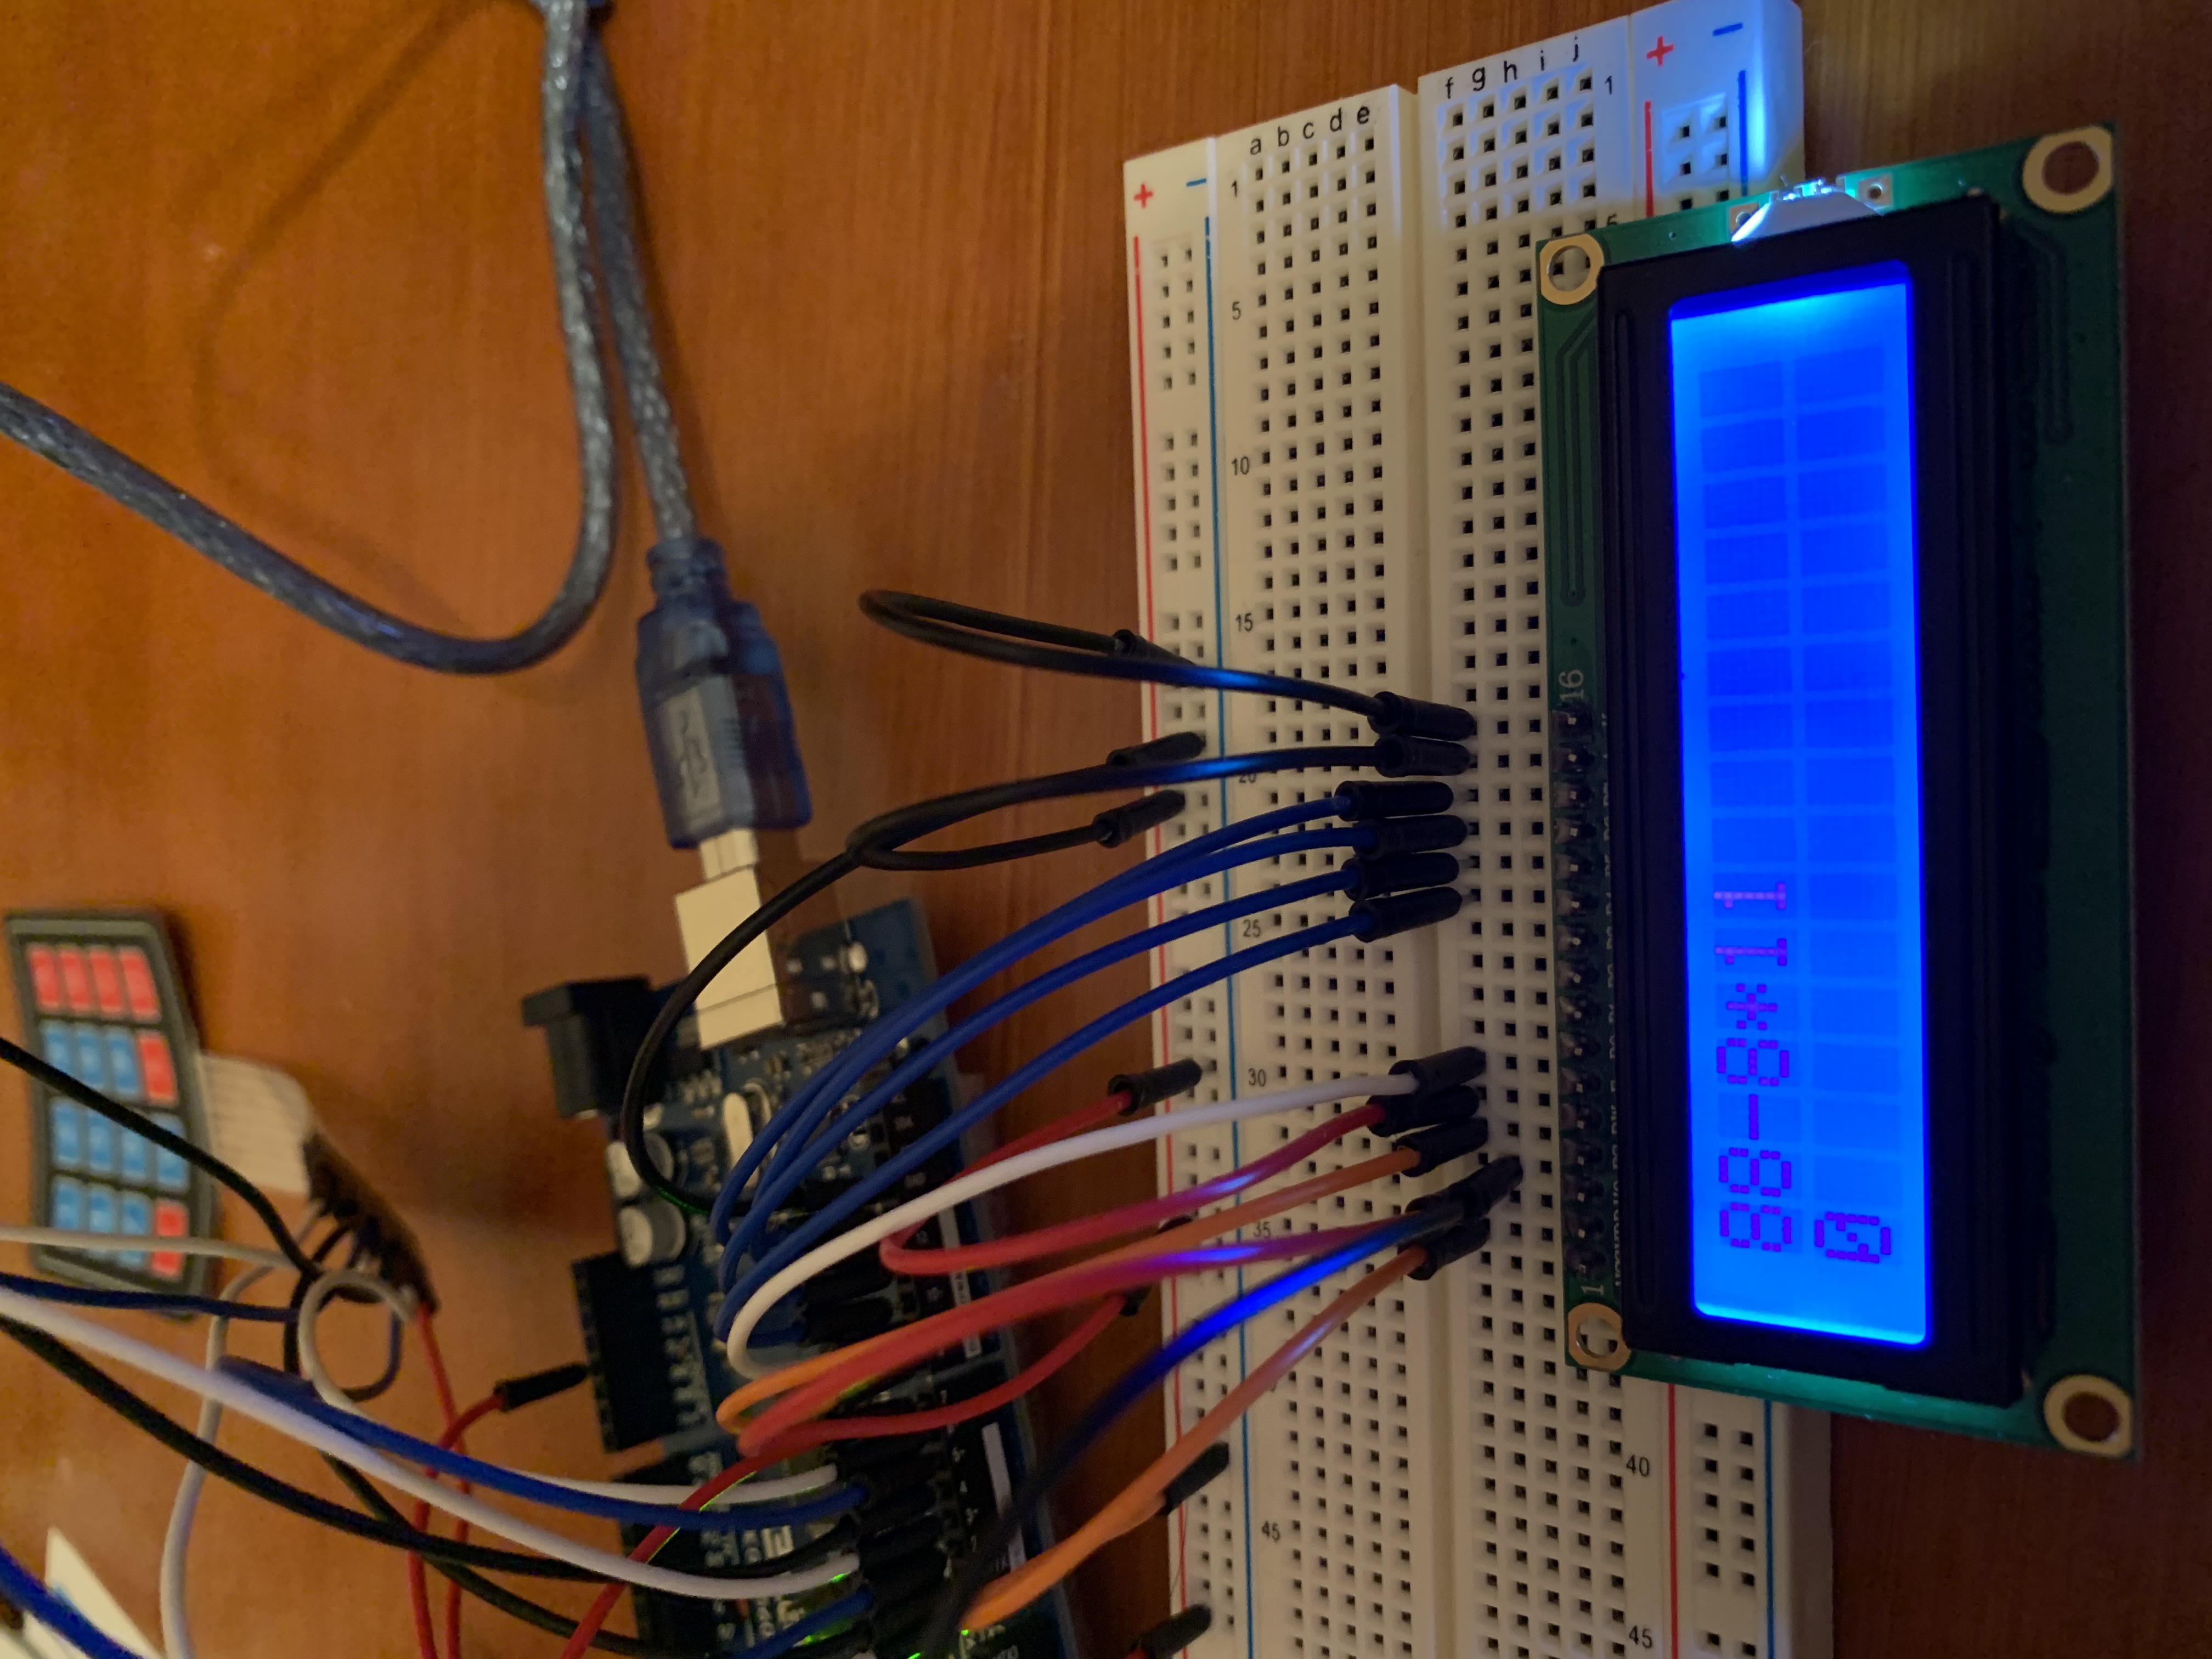
88-8*11
0
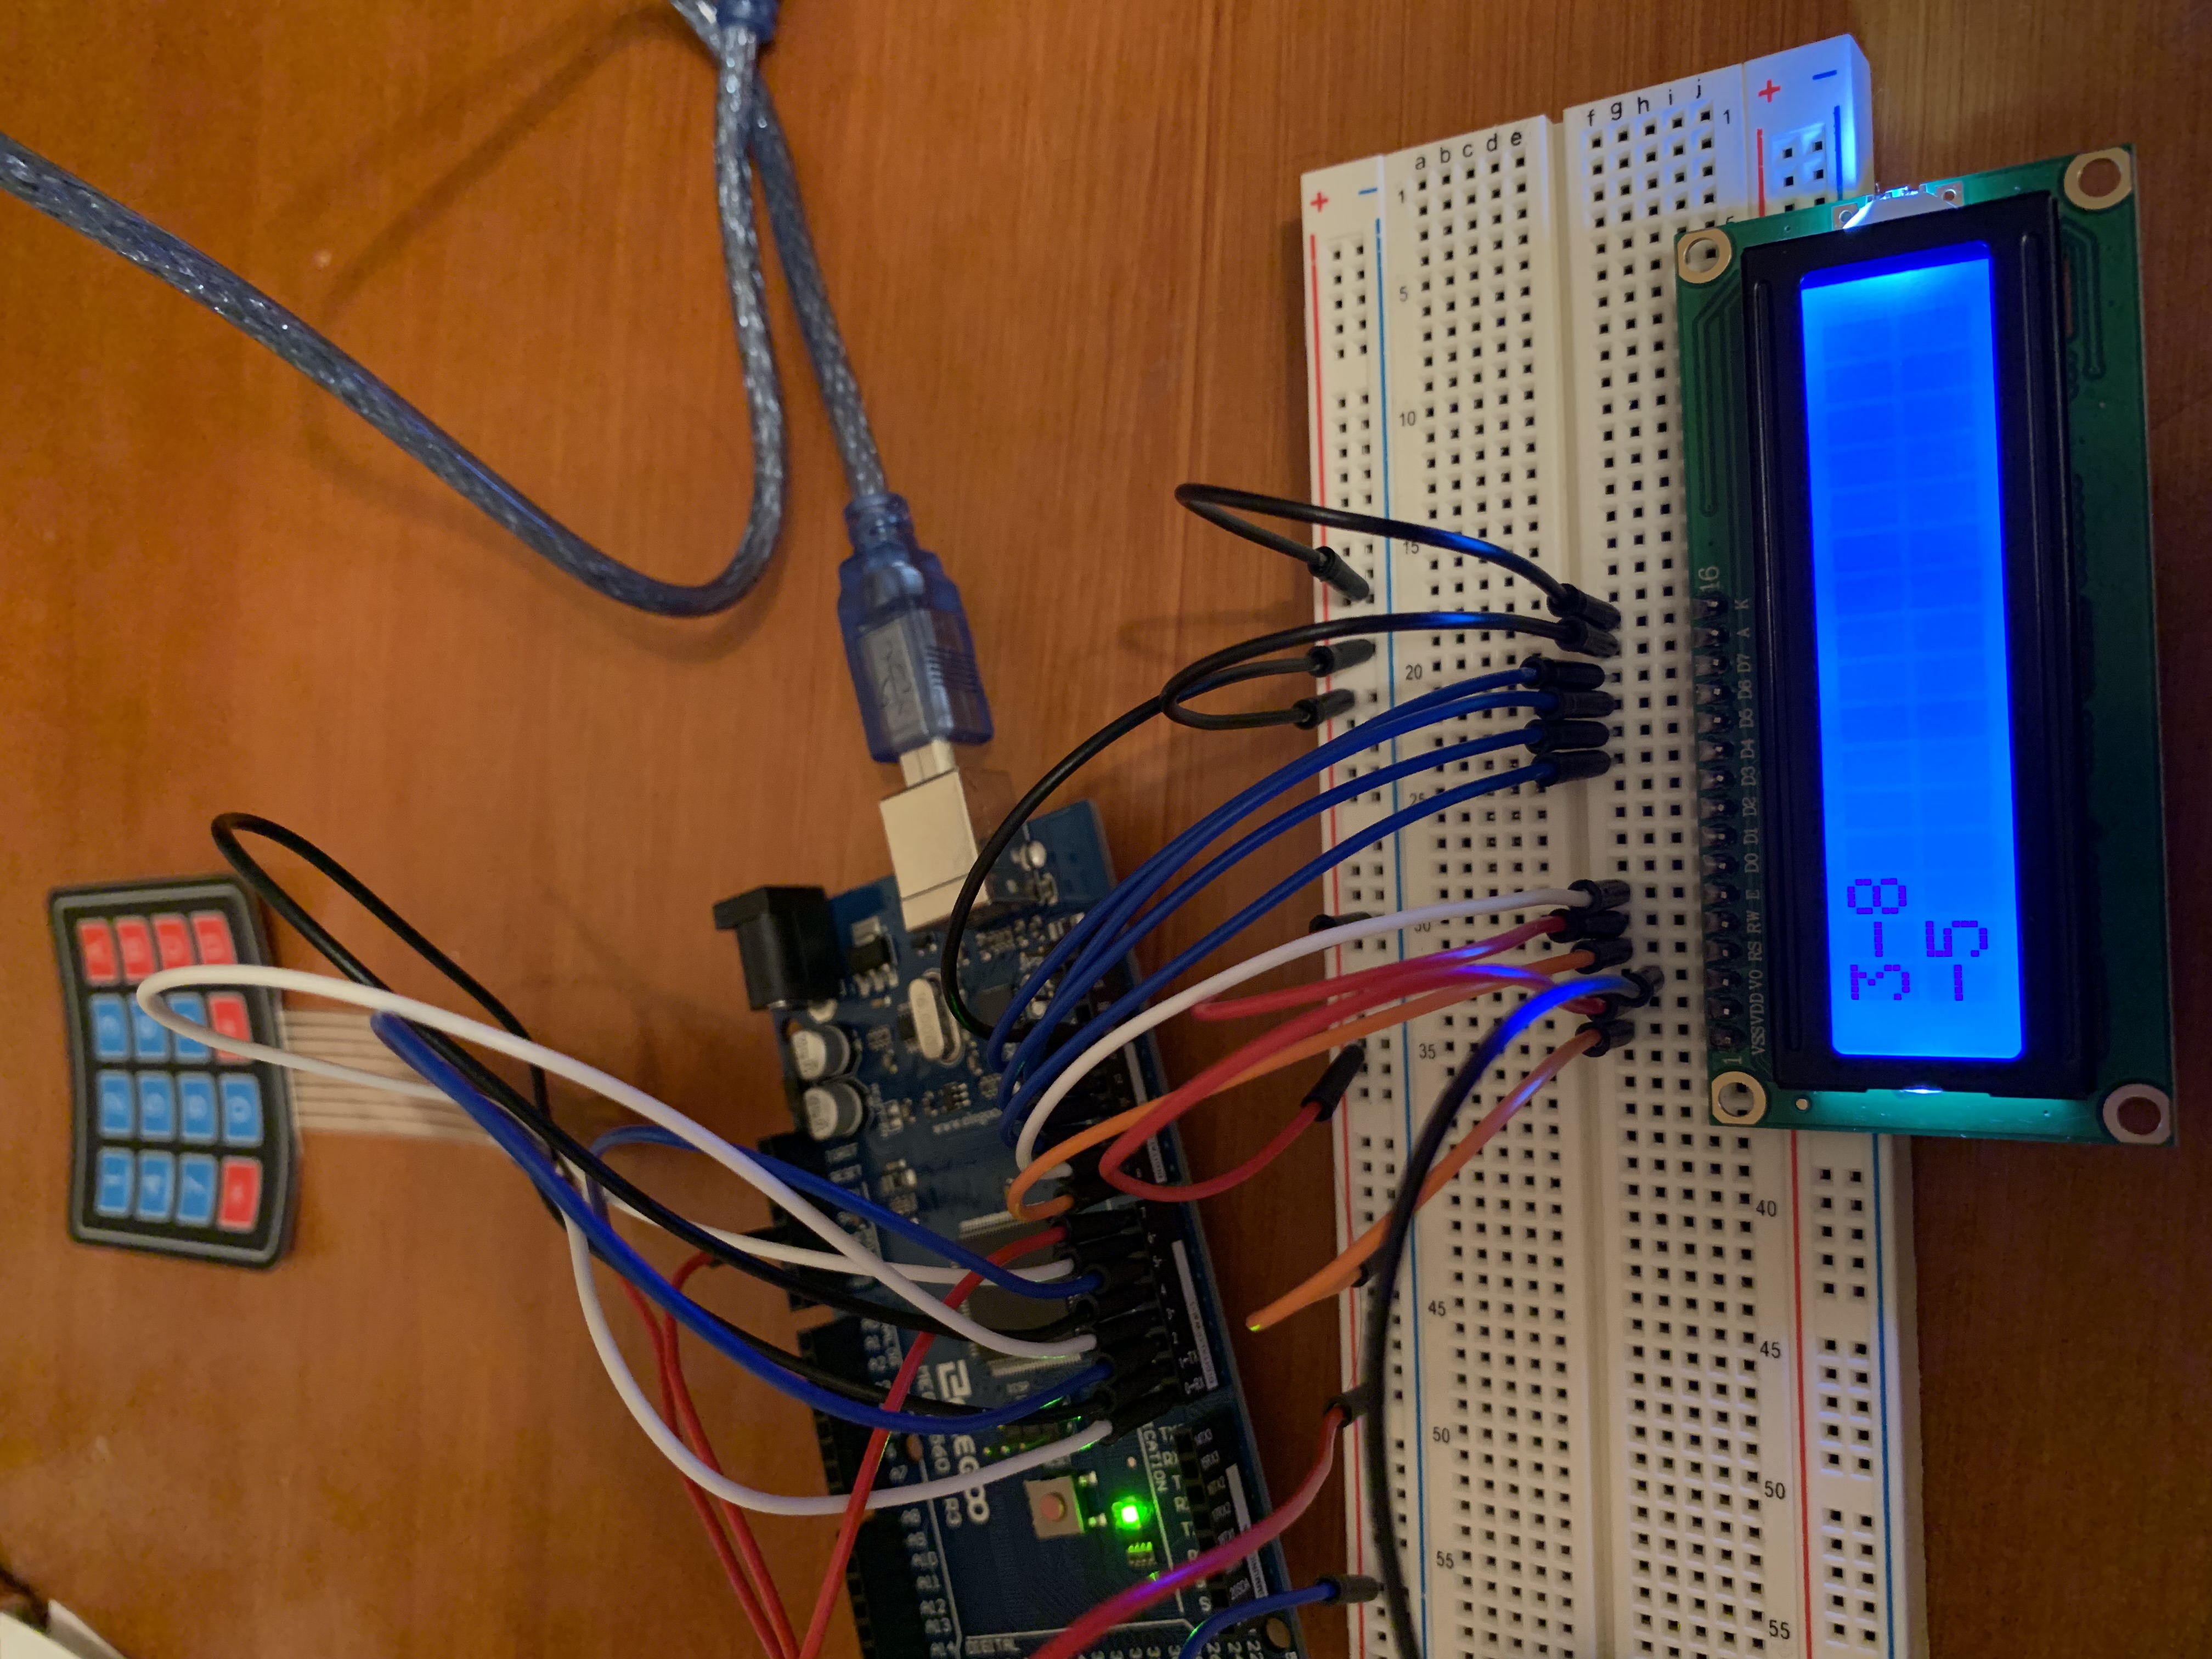
3-8
-5
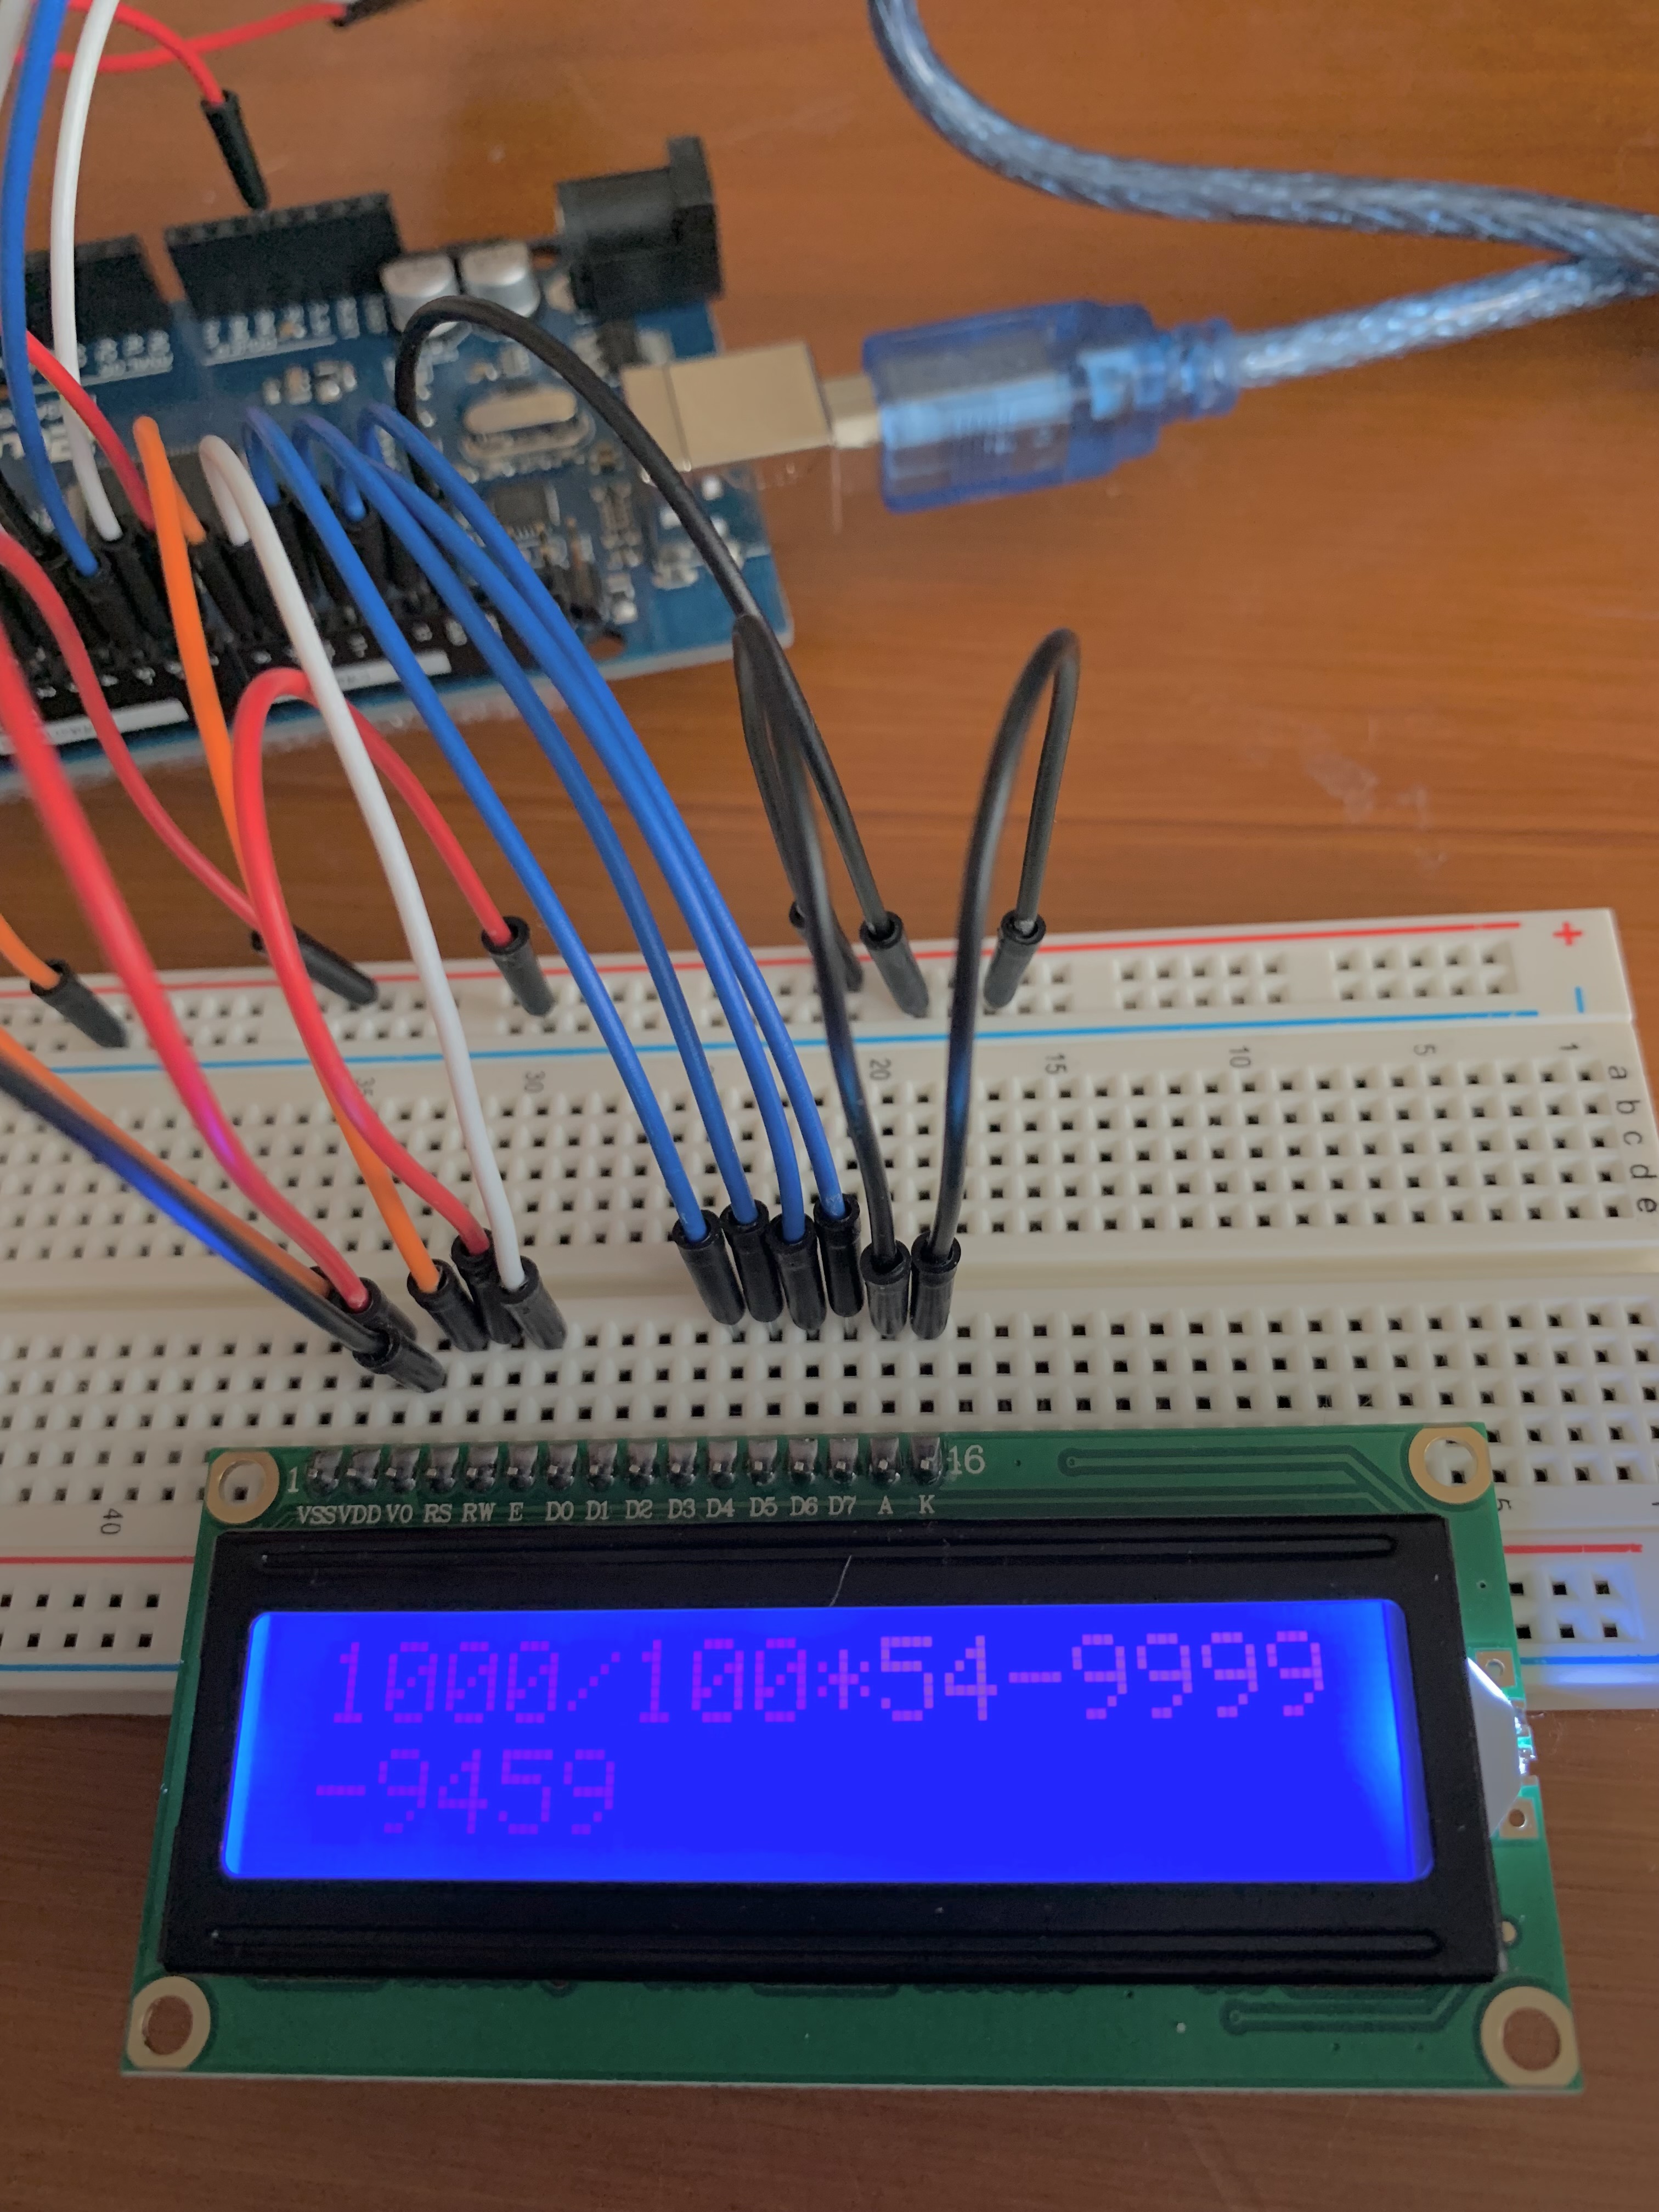
1000/10*54-9999
-9459
Although not pictured, I also tested expressions that exceeded 16 characters to ensure that my program truncated the extra operators or operands.
Roadblocks
While working on this project, I came across several problems. The first two involve issues with wiring. First, I had
some trouble setting up my LCD module. I had to look at a
YouTube video for extra guidance. I soon realized that
my potentiometer was too close to the LCD module on the bread board, so I moved it to the far left.
Second, I had just enough digital PWM pins to support both a keyboard and LCD display. This was great, however, on the Mega 2560, digital pins 0 and 1 are reserved for Serial (the console). If I was going to use the keyboard and display together, then I was going to have to test all of my output on the display because the Serial wouldn't work. This was especially tricky because the display had a limited amount of characters it could print and I did not want the display to autoscroll from left to right. There wasn't any real solution for this problem, but I made it work with just the LCD. Additionally, I had to modify the Starter Kit instructions since they typically used the middle 5-12 digital pins in their tutorials, but this wasn't a major setback.
Next, I had some programming roadblocks. The Arduino programming language is most similar to C++. However, it lacks some useful features such as a lists library (dynamic arrays) and macros, such as null (to test if a cell was empty). I think my program/algorithm would have been more efficient and simple if I had access to these kinds of C++ features. However, I developed my own workarounds. (Again, there weren't any specific solutions to these problems). For dynamic arrays, I simply added the constraint that the expression had to be 16 characters or less. For the lack of macros, I defined my own at the top of the program, namely empty. This particular macro was only used for the expression array since although computing negative numbers are possible, it's extremely unlikely for them to equal -9999 and given operands must be positive.
Lastly, I was able to implement logic to handle dividing by 0, but the output is still not ideal. In one of the pictures above, you can see Division Error-9 printed on the screen. The -9 is part of -9999, the value of the empty macro. This is because, if the expression is valid, the algorithm will print a cell from the expression array regardless, which usually ends up being empty. Since the expression might not have 0 as a given operand or might evaluate a part of the expression to 0 at a later stage, it is not possible to stop the program in the middle of the calculation algorithm (since the calculation function is called by a different function that has a while loop).
Conclusion
In summary, my calculator can accept mathematical infix expressions and evaluate them using PEMDAS. There are 3 constraints
in regards to input on my calculator: 1) expressions must be 16 characters or less, 2) the user cannot evaluate an
expression with a negative number (although there is a workaround for this), and 3) operands cannot be numbers with decimals.
The only constraint in regards to output on my calculator is that any quotients with decimal points will be rounded down.
One final constraint that I did not have control over was the range of int in the Arduino IDE, which
ranges from -32,768 to 32,767 [source]. Any
result or subresult with a number outside this range will cause integer overflow and therefore, an inaccurate solution.
Since I had plans to get my feet wet with electrical engineering, this was a fun, rewarding, and challenging project for me to work on over my spring break. In the future, I hope to revisit this project and improve the algorithm to account for floating point results and other roadblocks. I also plan to continue building more robots/machines using Elegoo/Arduino hardware and learning more about the Arduino IDE.